🎵 Smart Room Booking System
QR Geofencing & Gamification
Version 2.0.0 — Documentation📖 Table of Contents
1. Overview
Smart Room Booking System is a complete, self-hosted room reservation platform built for music schools, rehearsal studios, co-working spaces, and any venue that needs smart room management.
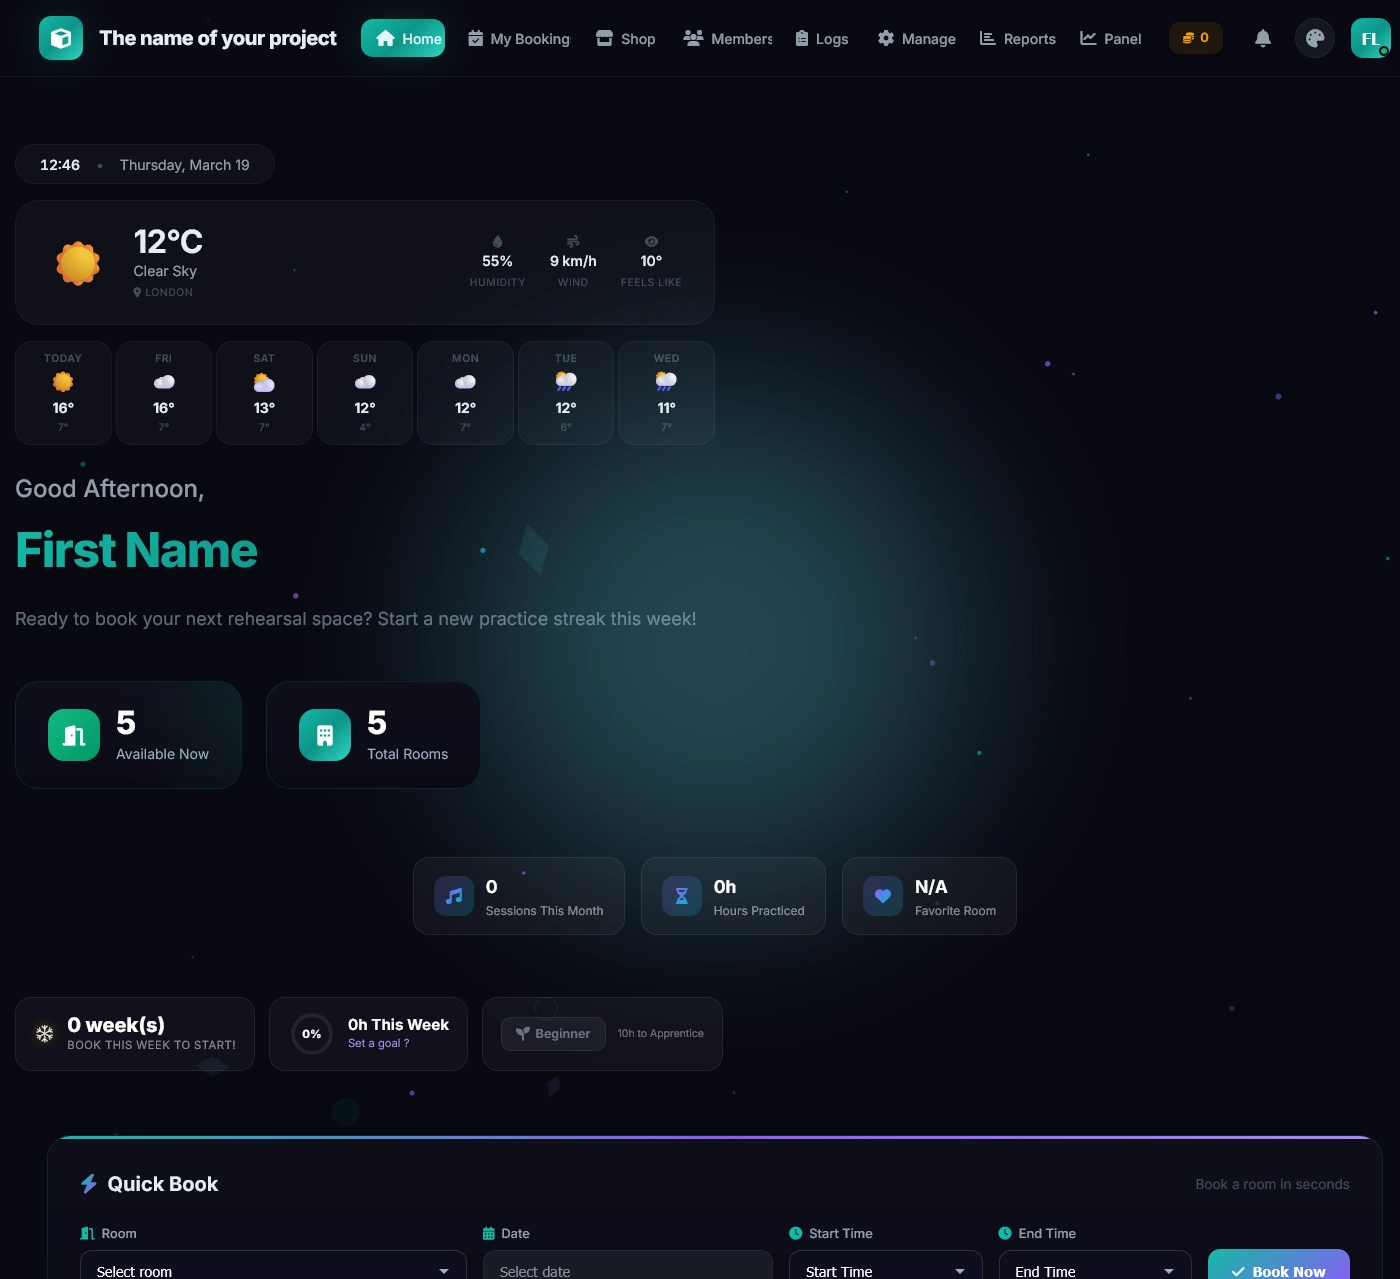
Built with PHP 8.0+ and MySQL — no framework dependencies. The system includes a Progressive Web App (PWA) with push notifications, a full gamification engine with token economy, and a unique QR code check-in system with GPS geofencing to prevent no-shows.
Tech Stack
| Layer | Technology |
|---|---|
| Backend | PHP 8.0+ (vanilla, no framework) |
| Database | MySQL 5.7+ / MariaDB 10.6+ |
| Frontend | HTML5, CSS3, Vanilla JS |
| UI Libraries | jQuery, jQuery UI, Bootstrap 4, GSAP, Font Awesome |
| Charts & Maps | Chart.js, Leaflet.js |
| PHPMailer (bundled) | |
| Push | minishlink/web-push ^10.0 (via Composer) |
2. Server Requirements
| Requirement | Minimum Version | Notes |
|---|---|---|
| PHP | 8.0+ | Required |
| MySQL / MariaDB | 5.7+ / 10.6+ | Required |
| Web Server | Apache or Nginx | Apache with mod_rewrite recommended |
| PHP Extensions | mysqli, mbstring, json, session, openssl, curl, fileinfo | |
| Composer | 2.x | Required — auto-run by installer |
| SSL Certificate | — | Optional — required for push notifications & PWA install |
3. Quick Install (Recommended)
The easiest way to get started. No command line needed.
/var/www/html/booking/ or C:\xampp\htdocs\booking\).
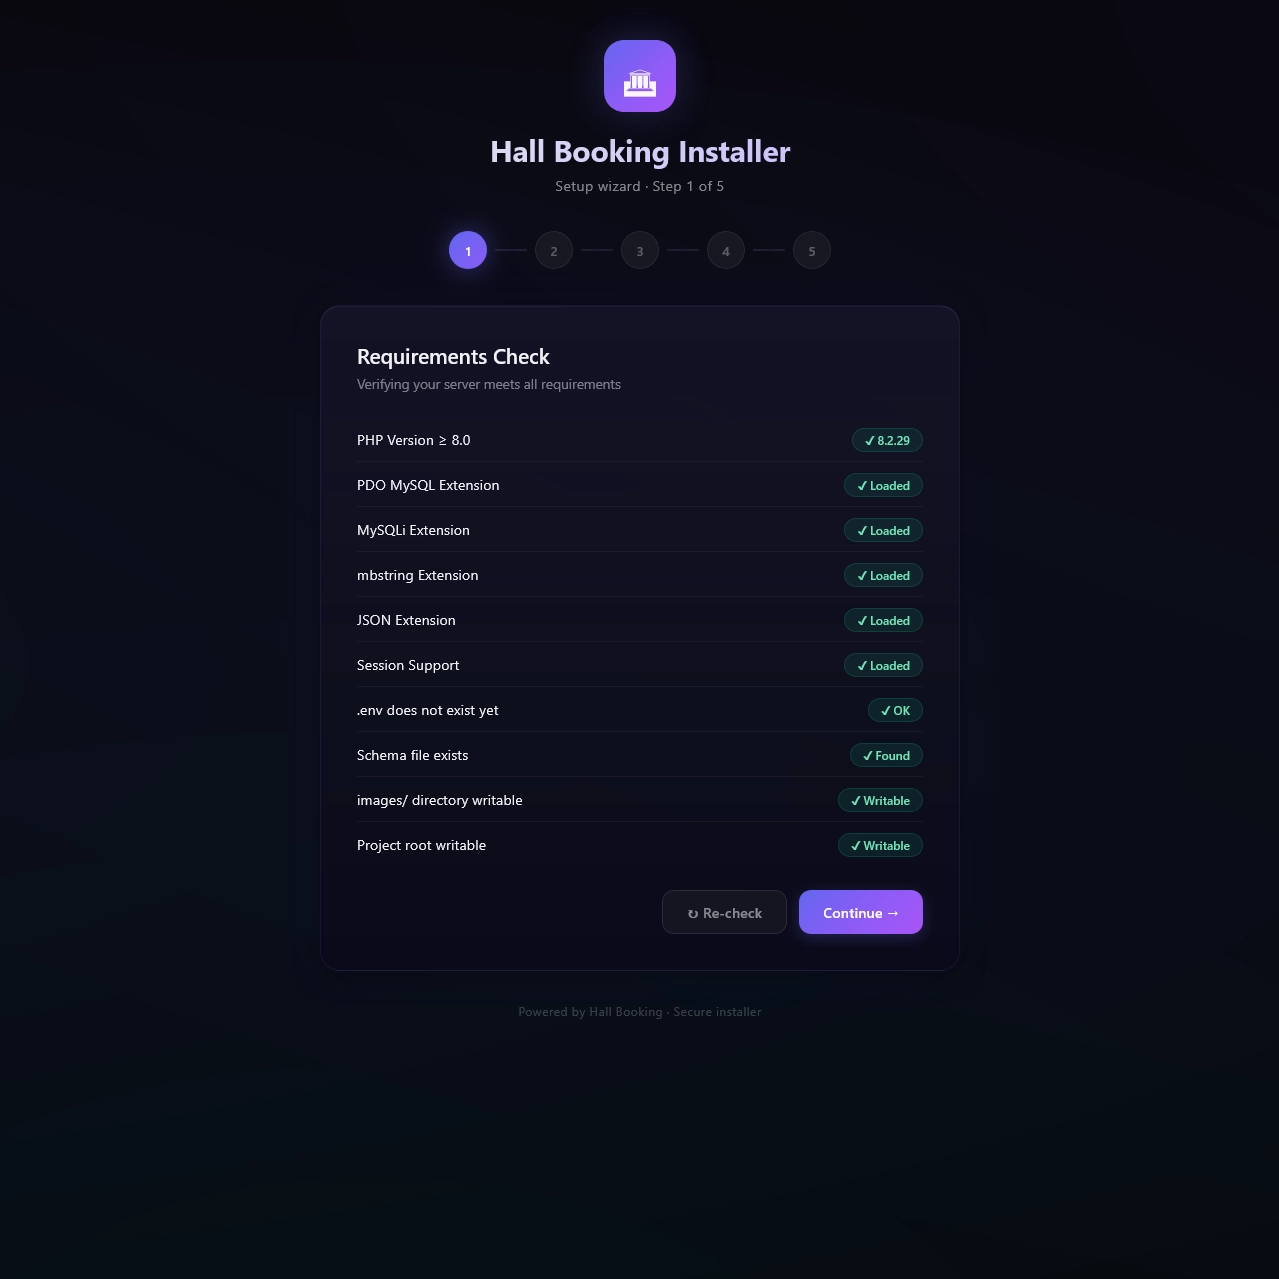
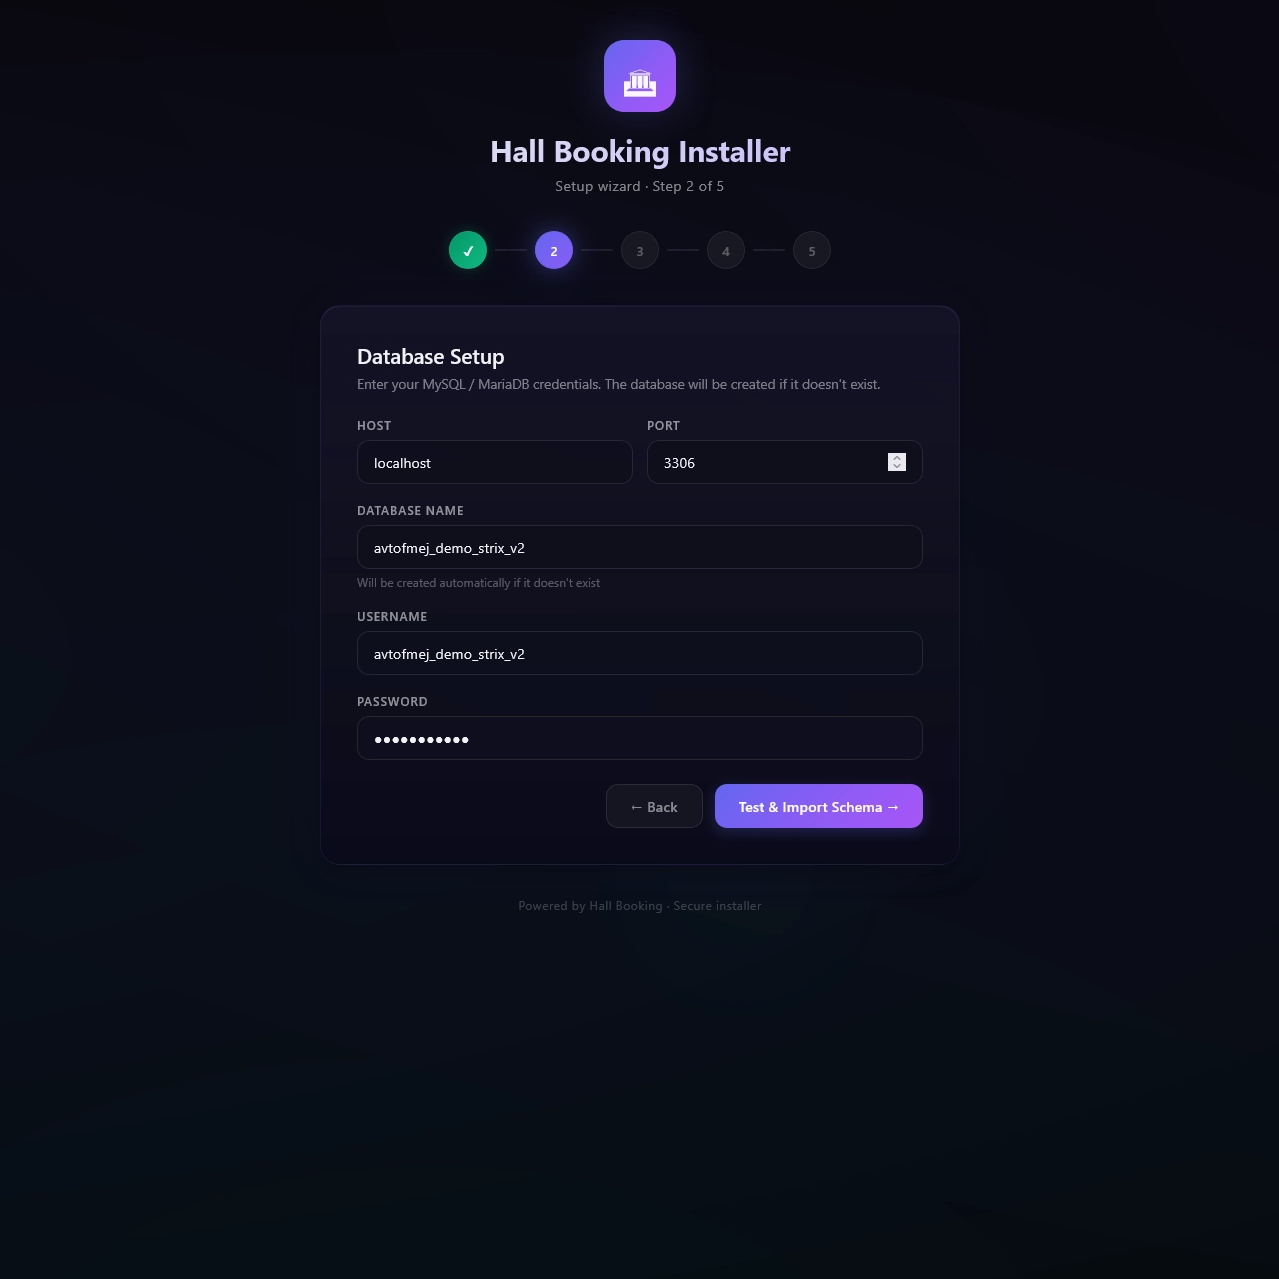
http://your-domain/install.php in your browser.
- Gamification & Tokens — Badges, streaks, ranks, leaderboard, token economy, reward shop
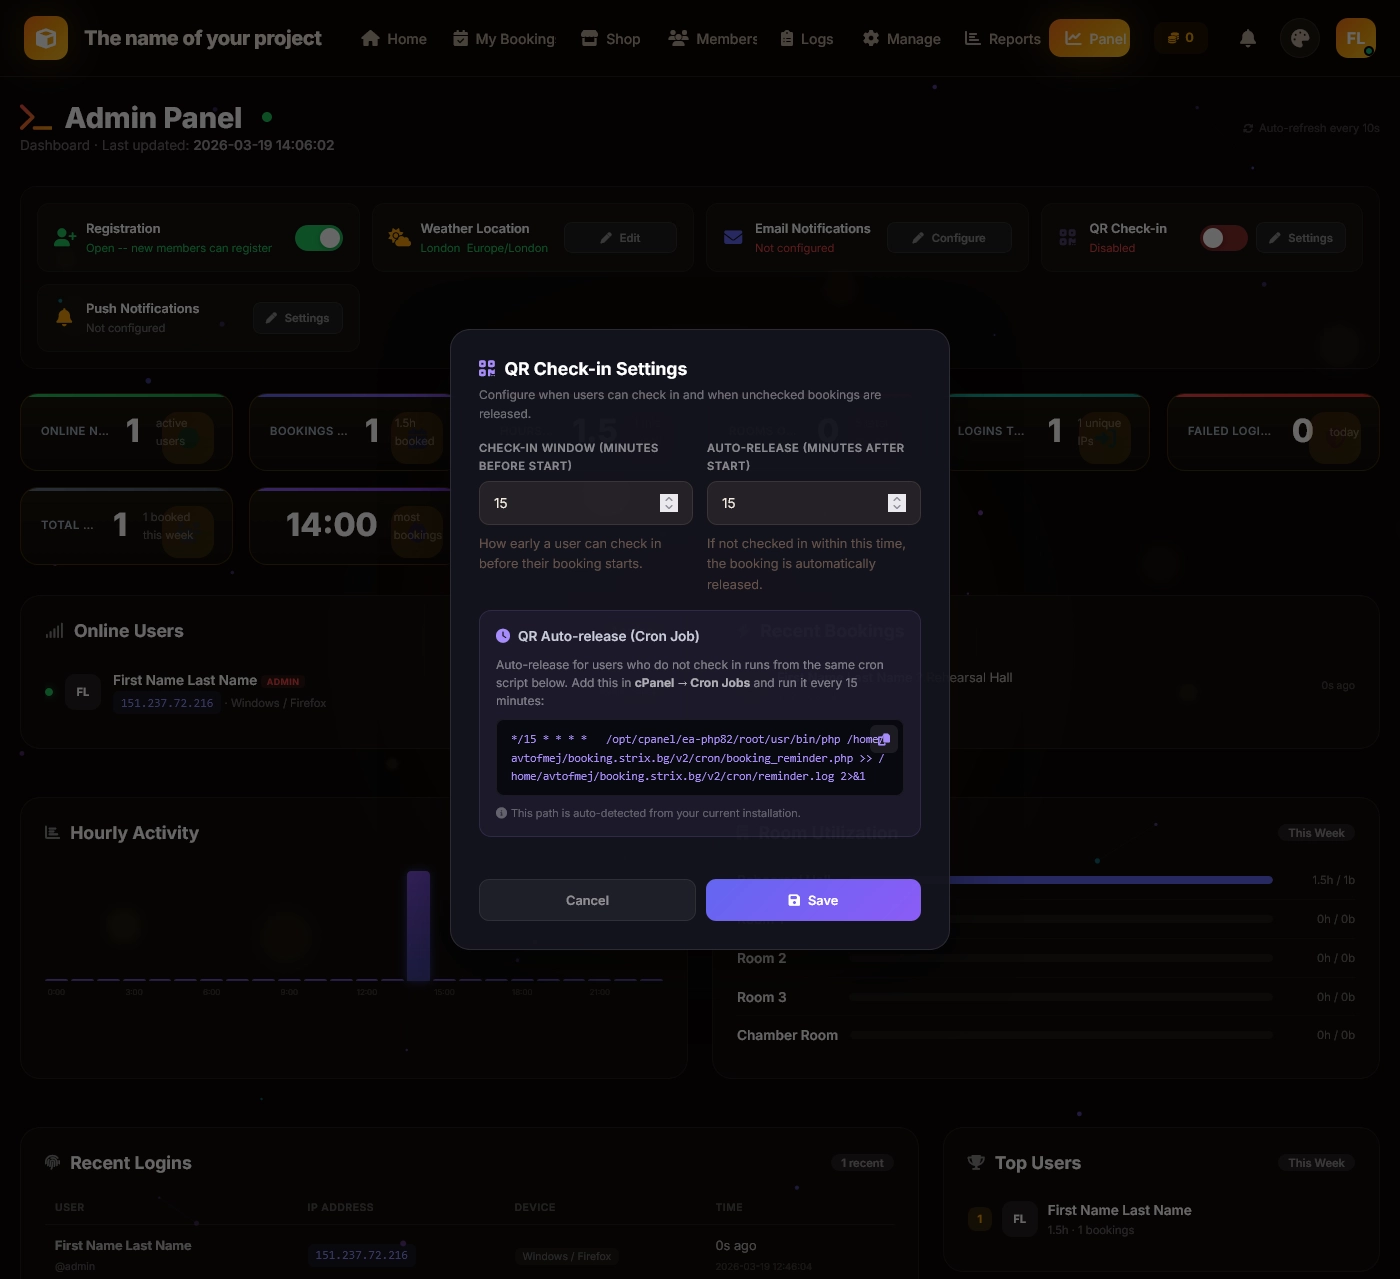
- QR Code Check-In — QR scanning and GPS geofencing system
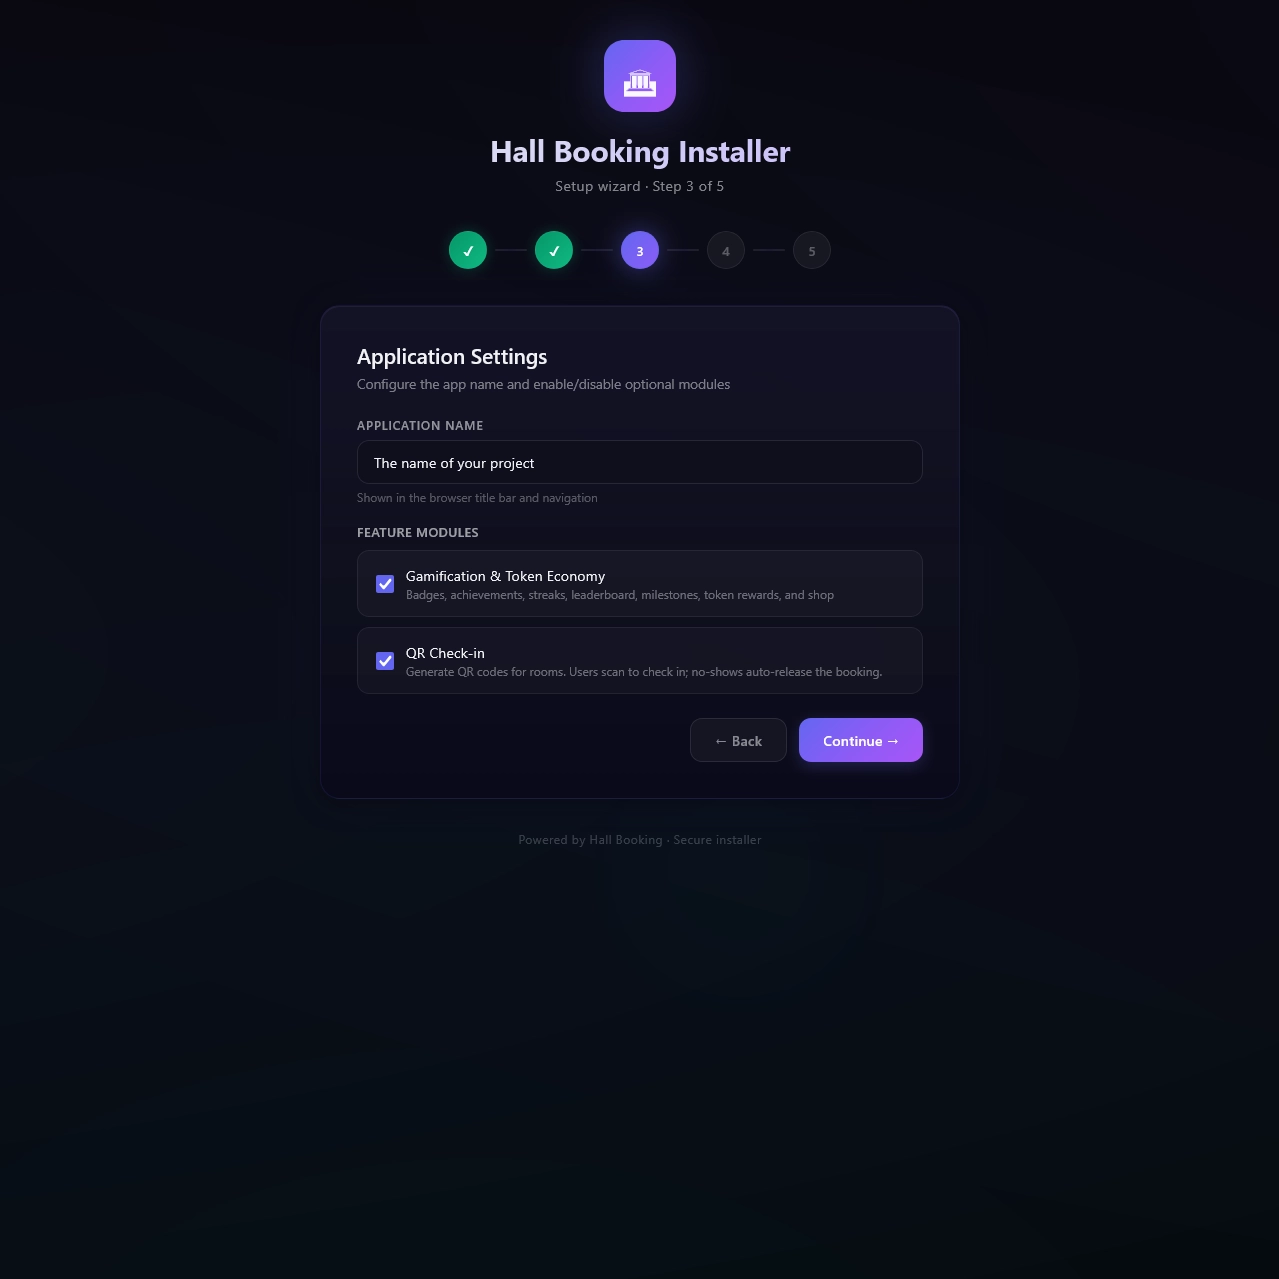
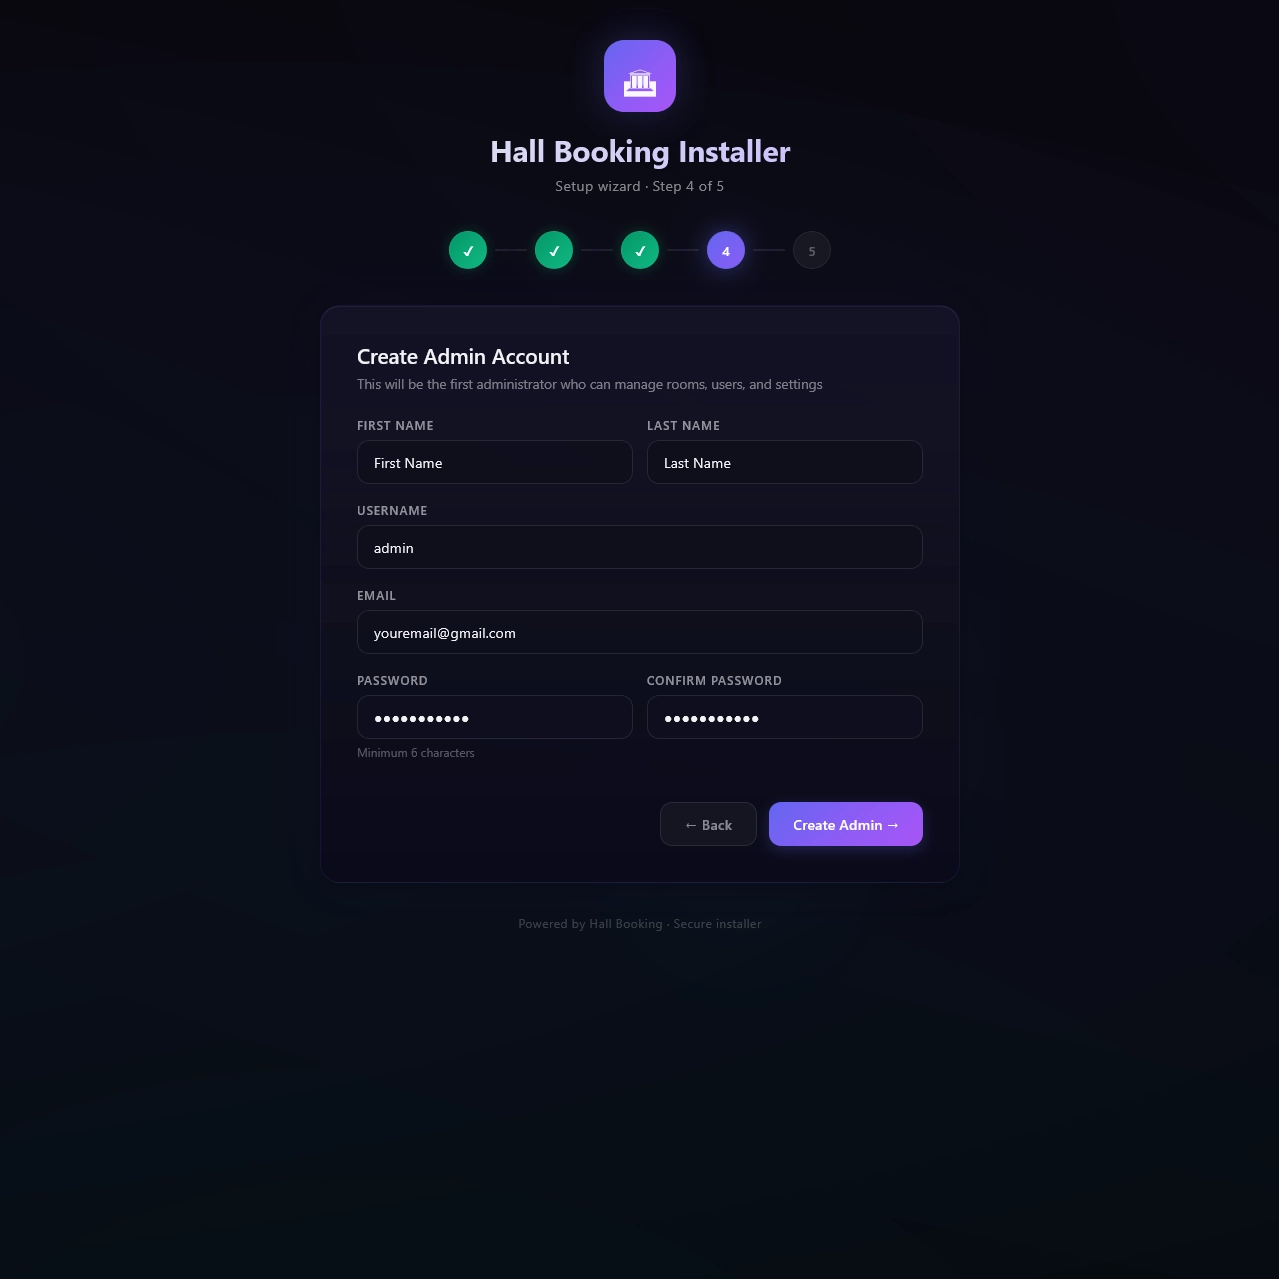
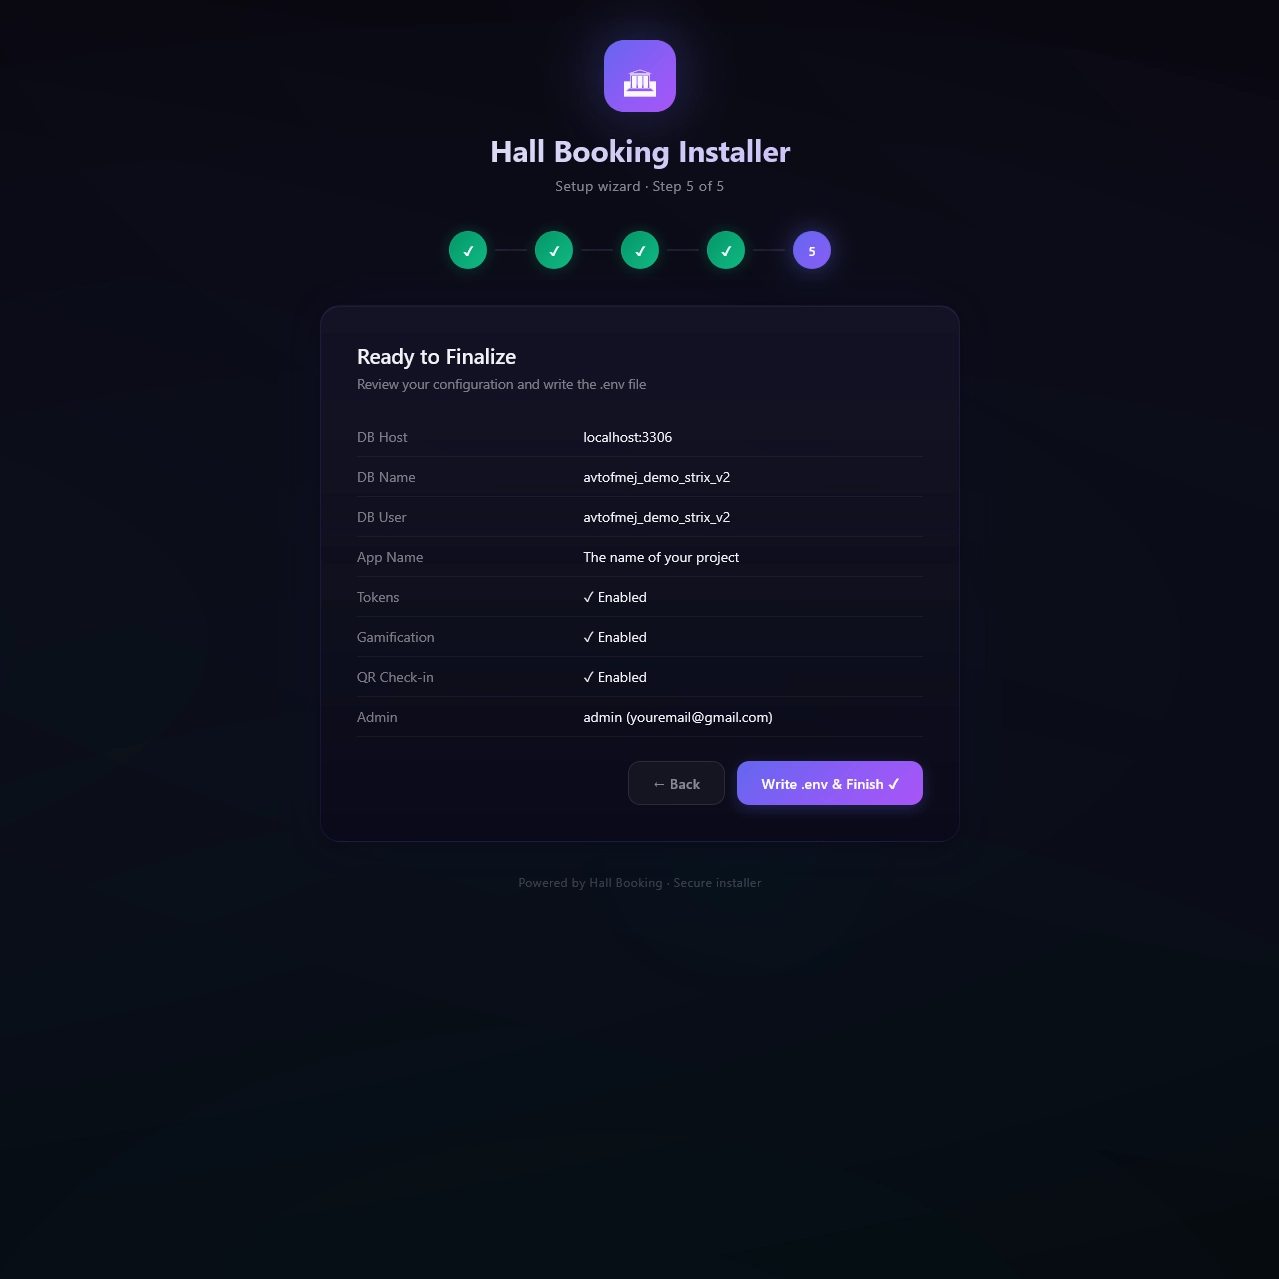
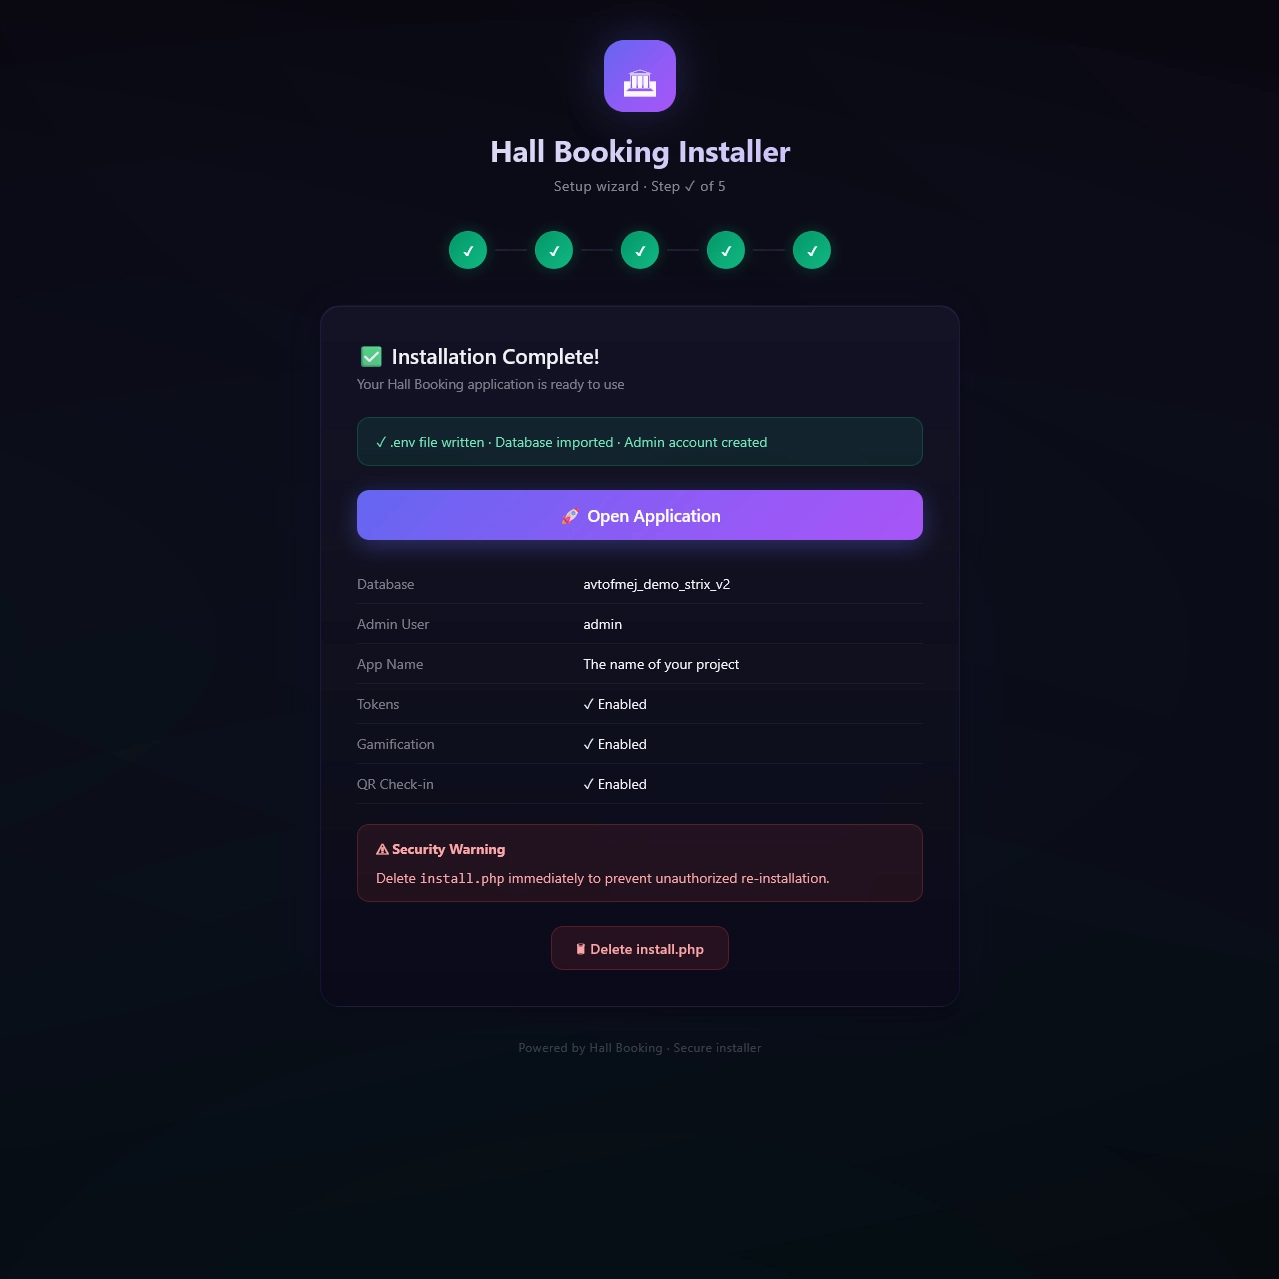
.env configuration file, runs composer install, and creates a lock file to prevent re-installation. Delete install.php when prompted.
4. Manual Installation
If you prefer command-line setup:
Step 1 — Extract Files
# Apache / XAMPP / WAMP example
C:\xampp\htdocs\booking\

# Linux example
/var/www/html/booking/
Step 2 — Install Dependencies
cd /path/to/booking
composer install
This installs minishlink/web-push and vlucas/phpdotenv into the vendor/ directory.
Step 3 — Configure Environment
cp .env.example .envEdit .env with your settings:
DB_HOST=localhost
DB_PORT=3306
DB_USERNAME=your_db_user
DB_PASSWORD=your_db_password
DB_DATABASE=hall_booking

APP_NAME="Hall Booking"
APP_DEBUG=false

FEATURE_TOKENS=true
FEATURE_GAMIFICATION=true
FEATURE_QR_CHECKIN=false.env file. It contains your database credentials.
Step 4 — Create Database
Option A — Command Line
mysql -u root -p -e "CREATE DATABASE hall_booking CHARACTER SET utf8mb4 COLLATE utf8mb4_unicode_ci;"
mysql -u root -p hall_booking < schema.sql
Option B — phpMyAdmin
- Create a new database (e.g.,
hall_booking) withutf8mb4_unicode_cicollation - Go to the Import tab
- Upload
schema.sqland click Go
Step 5 — Set File Permissions (Linux/macOS)
chmod -R 755 /path/to/booking/
chmod -R 775 /path/to/booking/images/
chmod -R 775 /path/to/booking/sessions/
Step 6 — Create Admin Account
- Register a normal account via the registration page
- Promote it to admin in the database:
UPDATE users SET isAdmin = 1 WHERE username = 'your_username';Step 7 — Verify
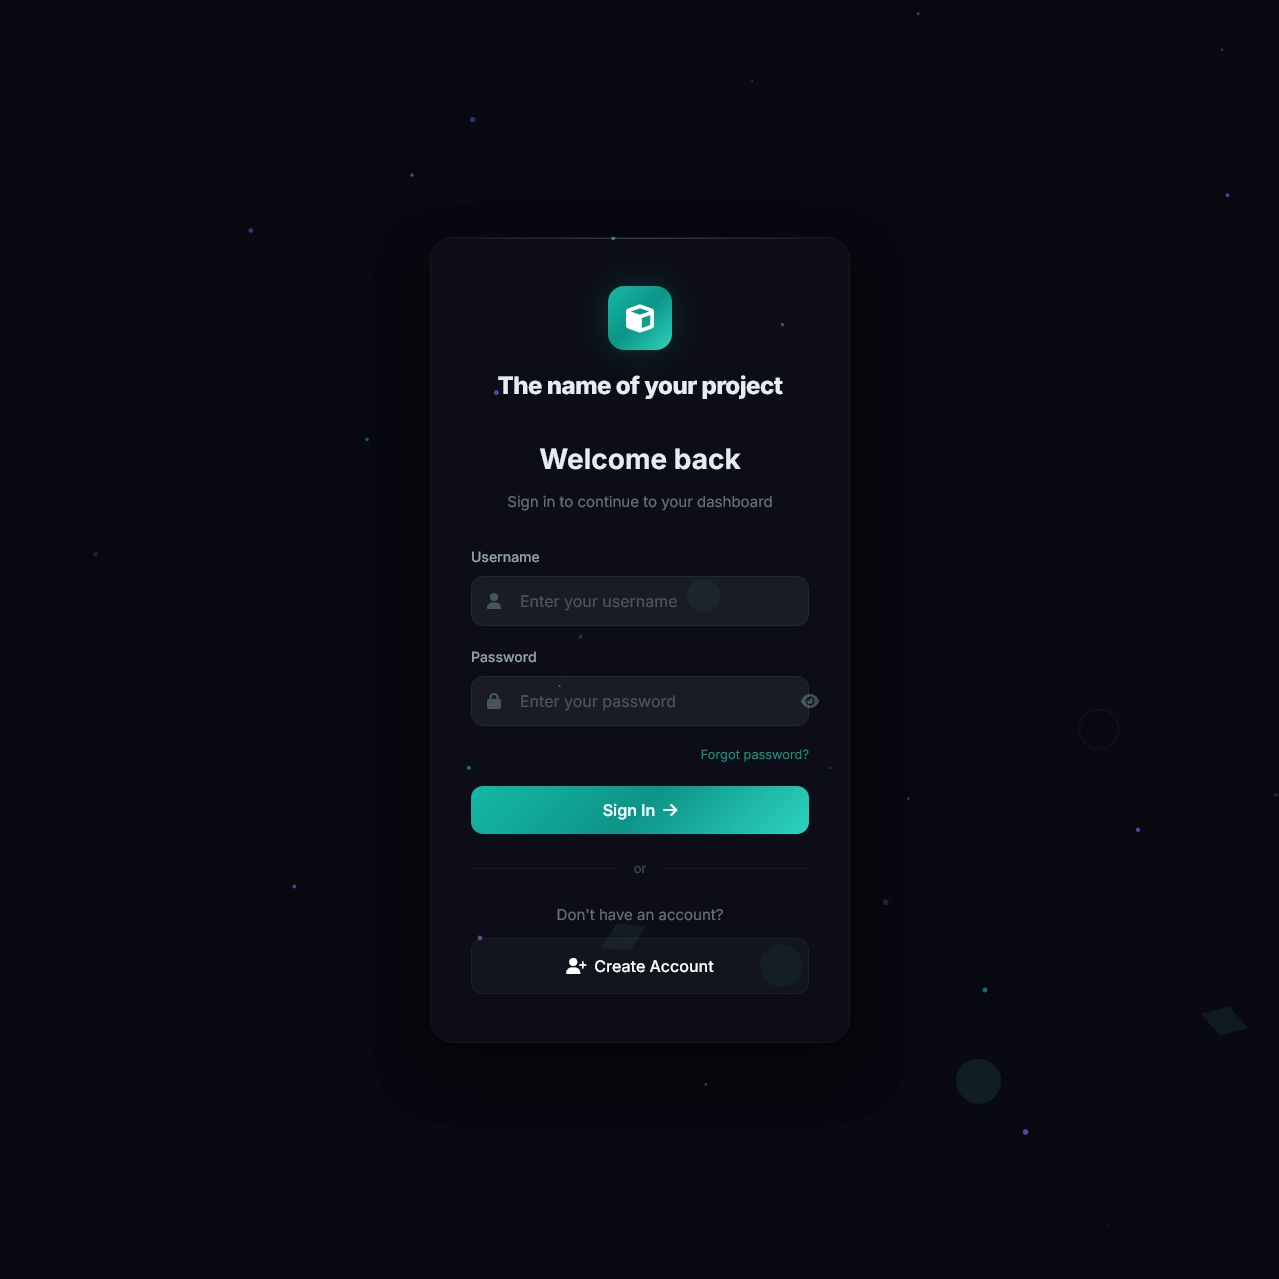
Visit http://your-domain/ — you should see the login page:
5. Configuration
All configuration is managed through the .env file. A template is provided in .env.example.
| Variable | Description | Default |
|---|---|---|
DB_HOST | Database host | localhost |
DB_PORT | Database port | 3306 |
DB_USERNAME | Database username | — |
DB_PASSWORD | Database password | — |
DB_DATABASE | Database name | — |
APP_NAME | Application display name | Hall Booking |
APP_DEBUG | Show detailed errors | false |
FEATURE_TOKENS | Enable token economy & reward shop | true |
FEATURE_GAMIFICATION | Enable badges, streaks, ranks, leaderboard | true |
FEATURE_QR_CHECKIN | Enable QR check-in & GPS geofencing | false |
6. Feature Flags
Three major features can be independently toggled via the .env file:
Token Economy
Set FEATURE_TOKENS=false to disable:
- Token earning and spending
- The reward shop
- Token balance display in navigation
Gamification
Set FEATURE_GAMIFICATION=false to disable:
- Badges, streaks, and rank progression
- Leaderboard and milestone celebrations
- Weekly progress ring
FEATURE_TOKENS=false automatically disables gamification regardless of its own flag.
QR Code Check-In
Set FEATURE_QR_CHECKIN=false to disable:
- QR code scanning and check-in
- GPS geofence verification
- Auto-release of no-show bookings
7. Admin Panel Usage
Access the admin panel at /admin/admin_panel.php (requires an admin account).
Dashboard
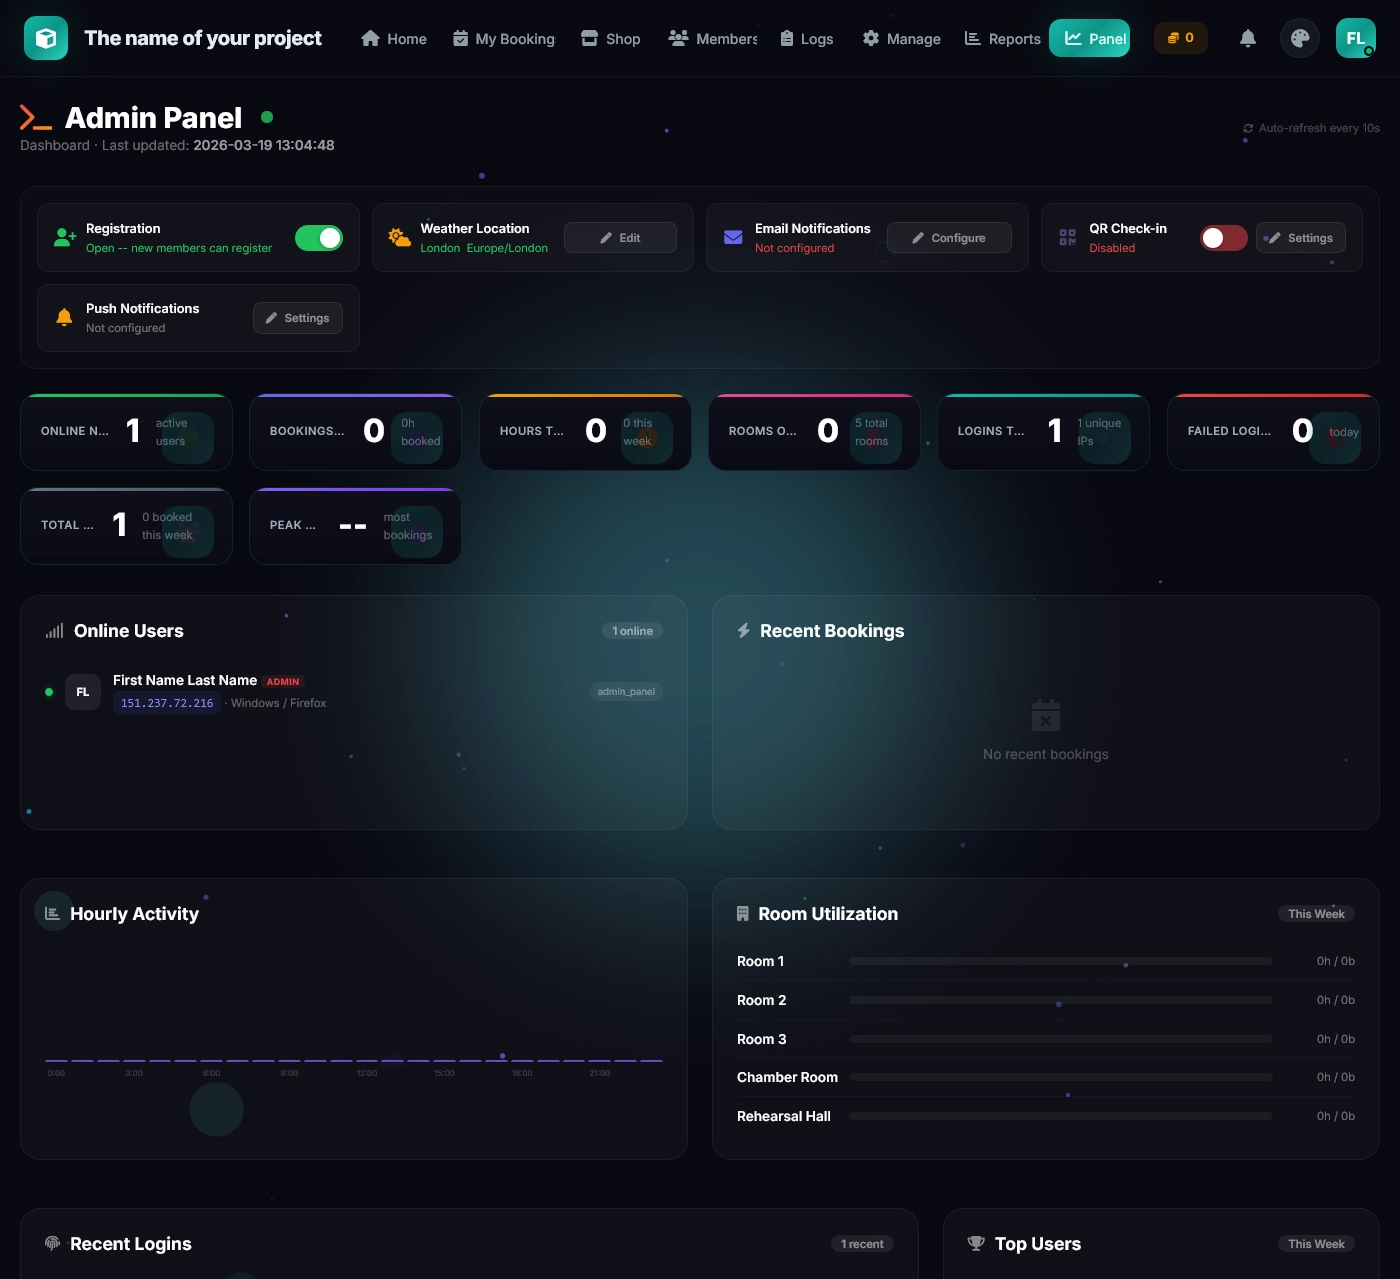
The admin dashboard shows 20+ real-time metrics including: users online, bookings today/this week, hours logged, rooms occupied, peak hours, system health (DB size, PHP version, uptime), recent bookings, and recent logins.
Room & Building Management
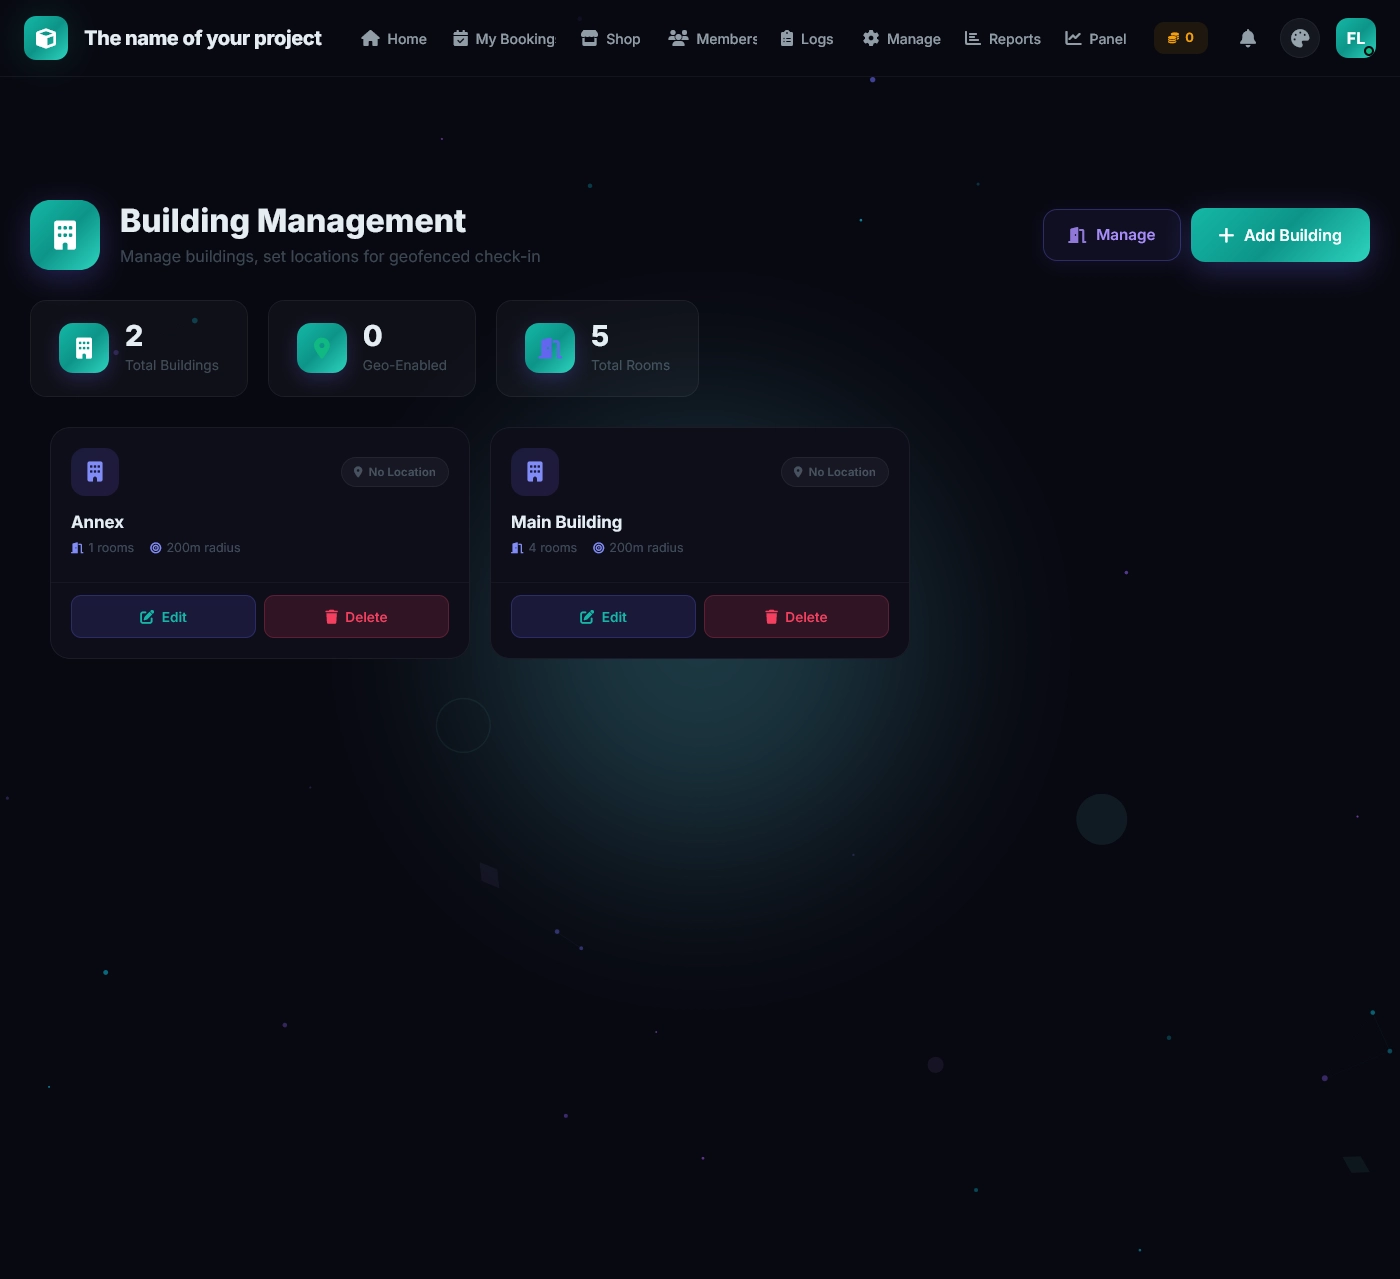
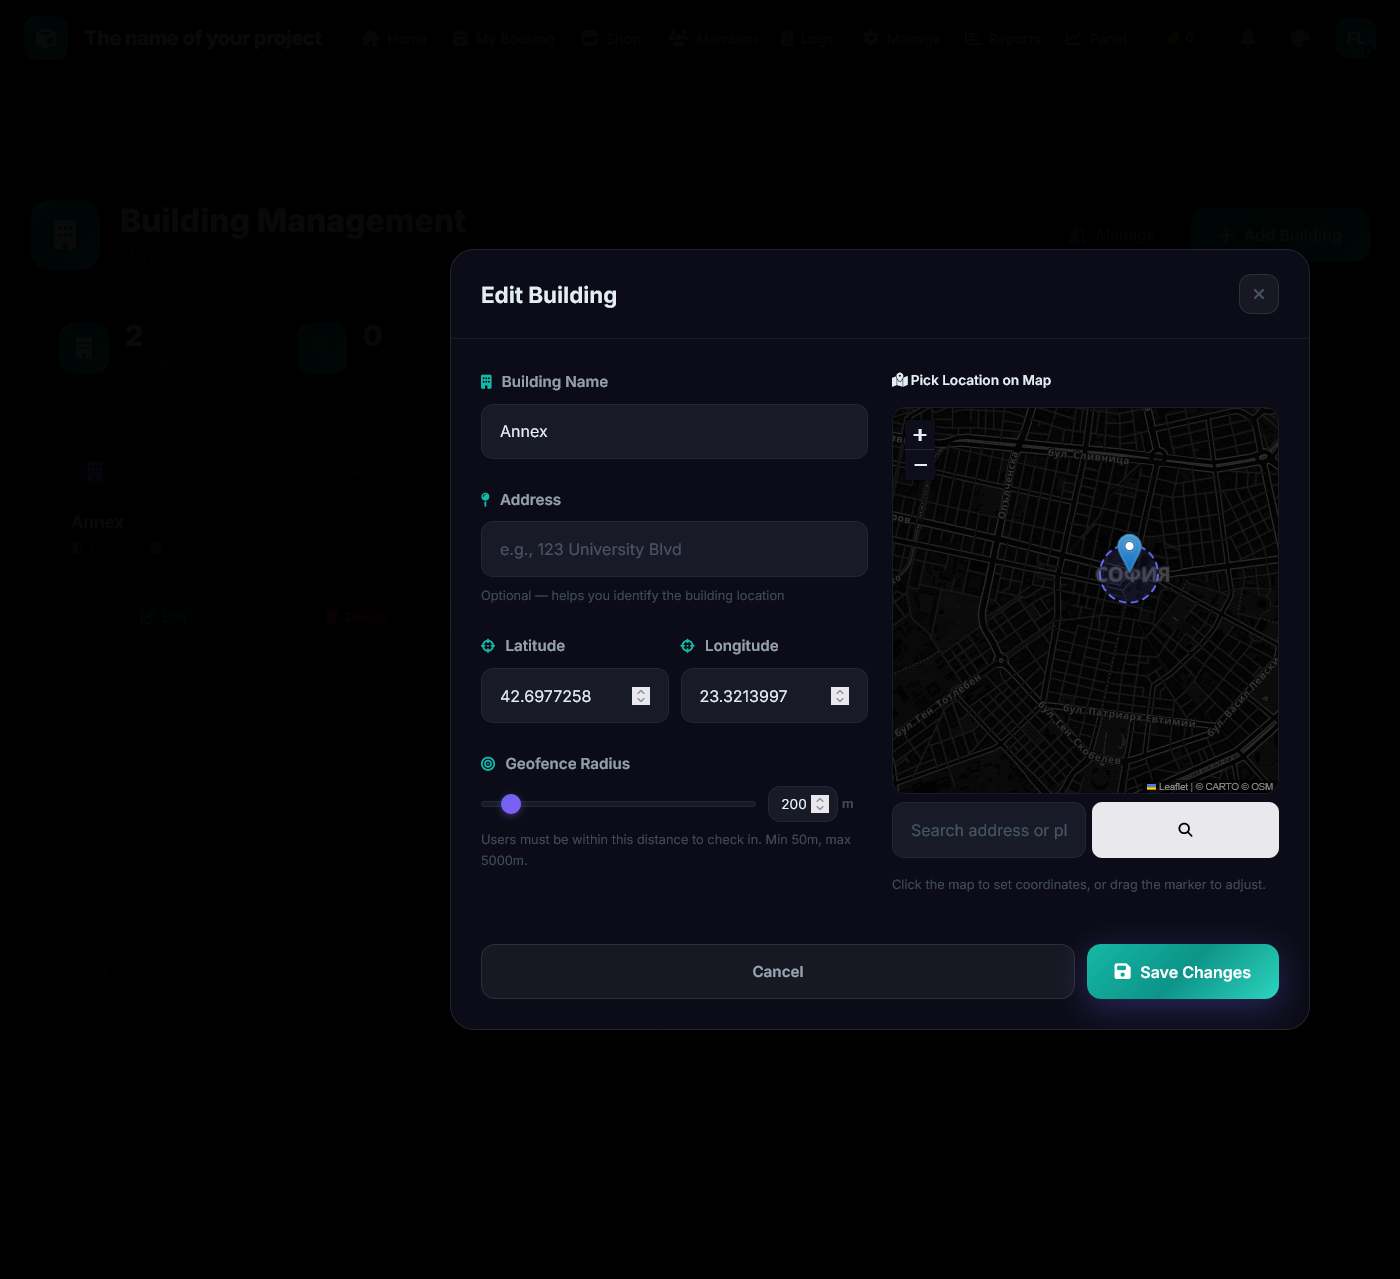
Buildings: Create buildings with name, address, GPS coordinates, and geofence radius. Use the interactive Leaflet.js map to set coordinates by clicking, searching, or entering manually.
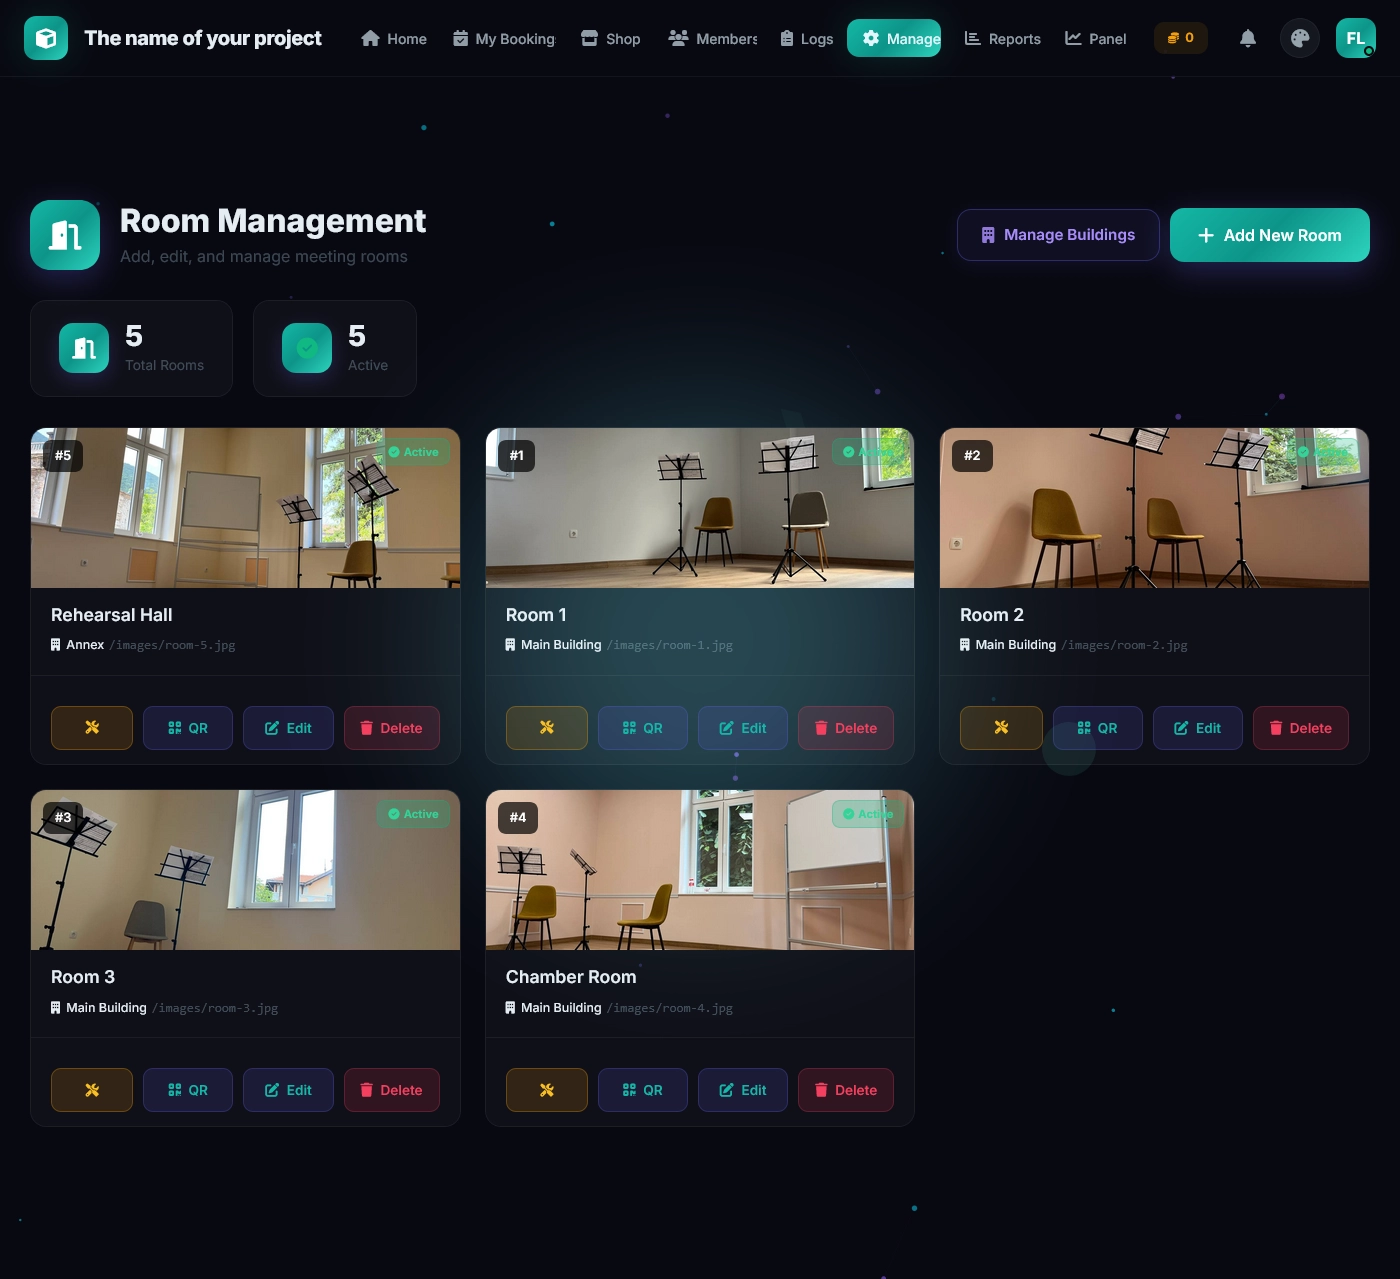
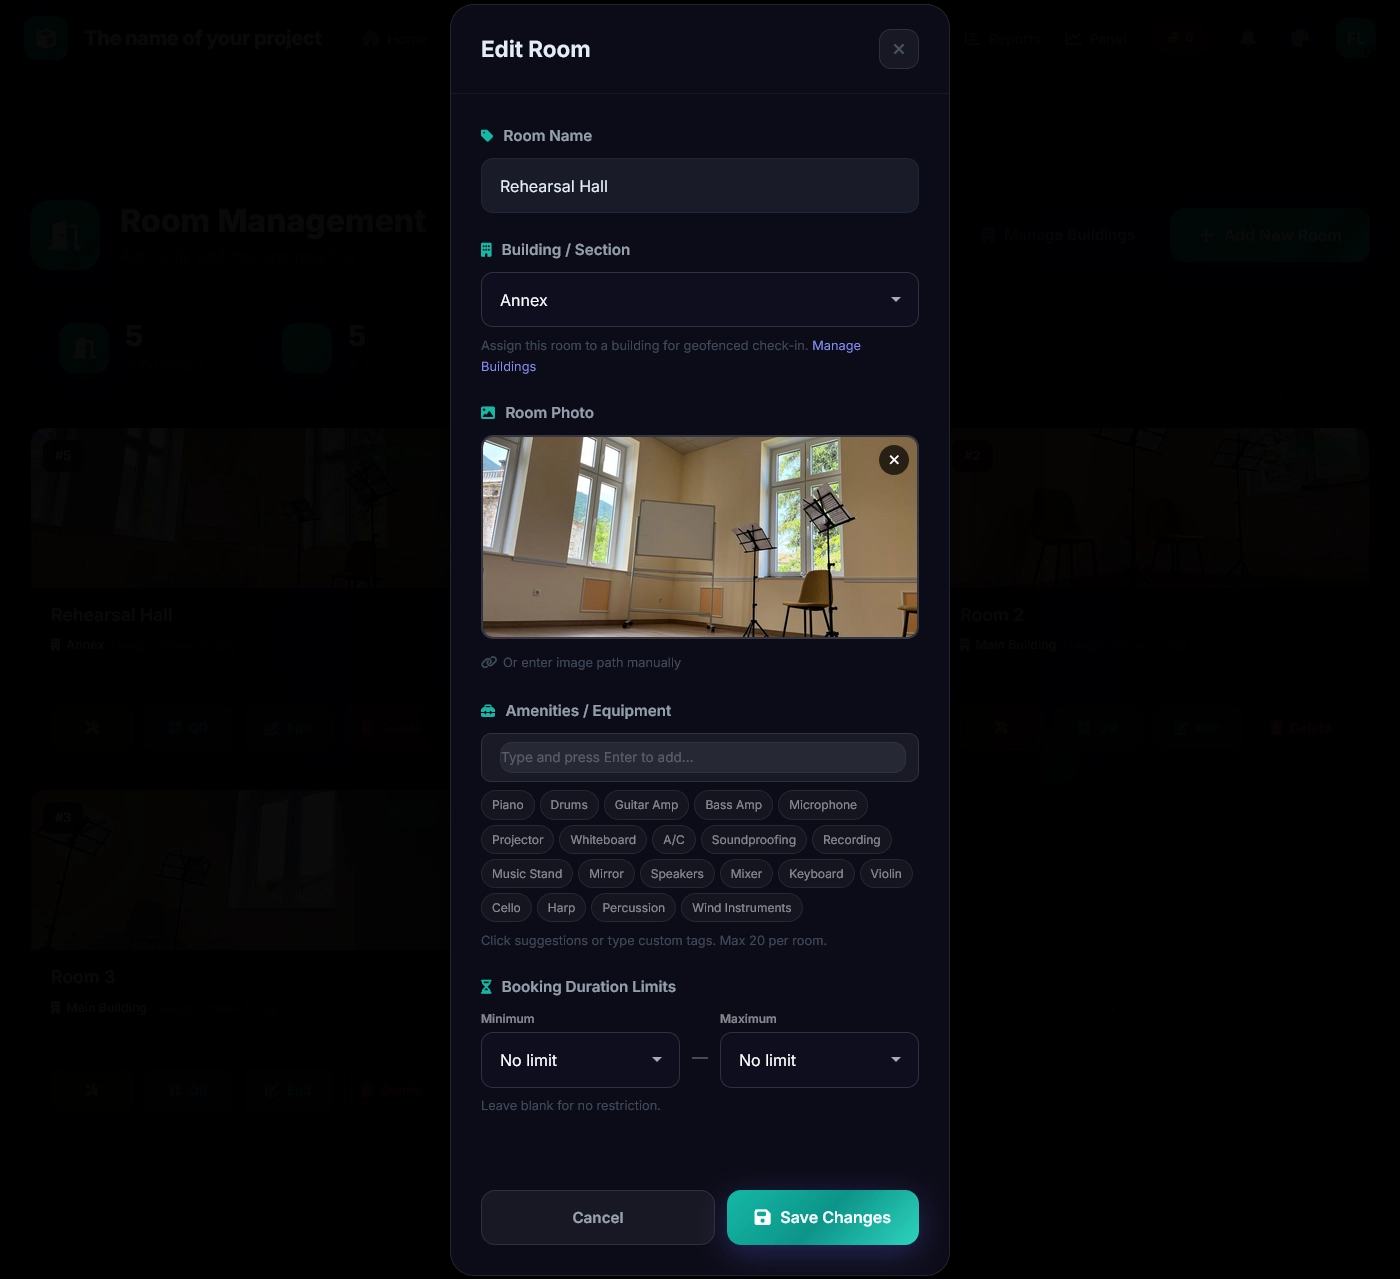
Rooms: Create rooms within buildings. Set name, upload an image (drag-and-drop), add amenity tags (20+ predefined + custom), set min/max booking durations, and toggle maintenance mode.
User Management
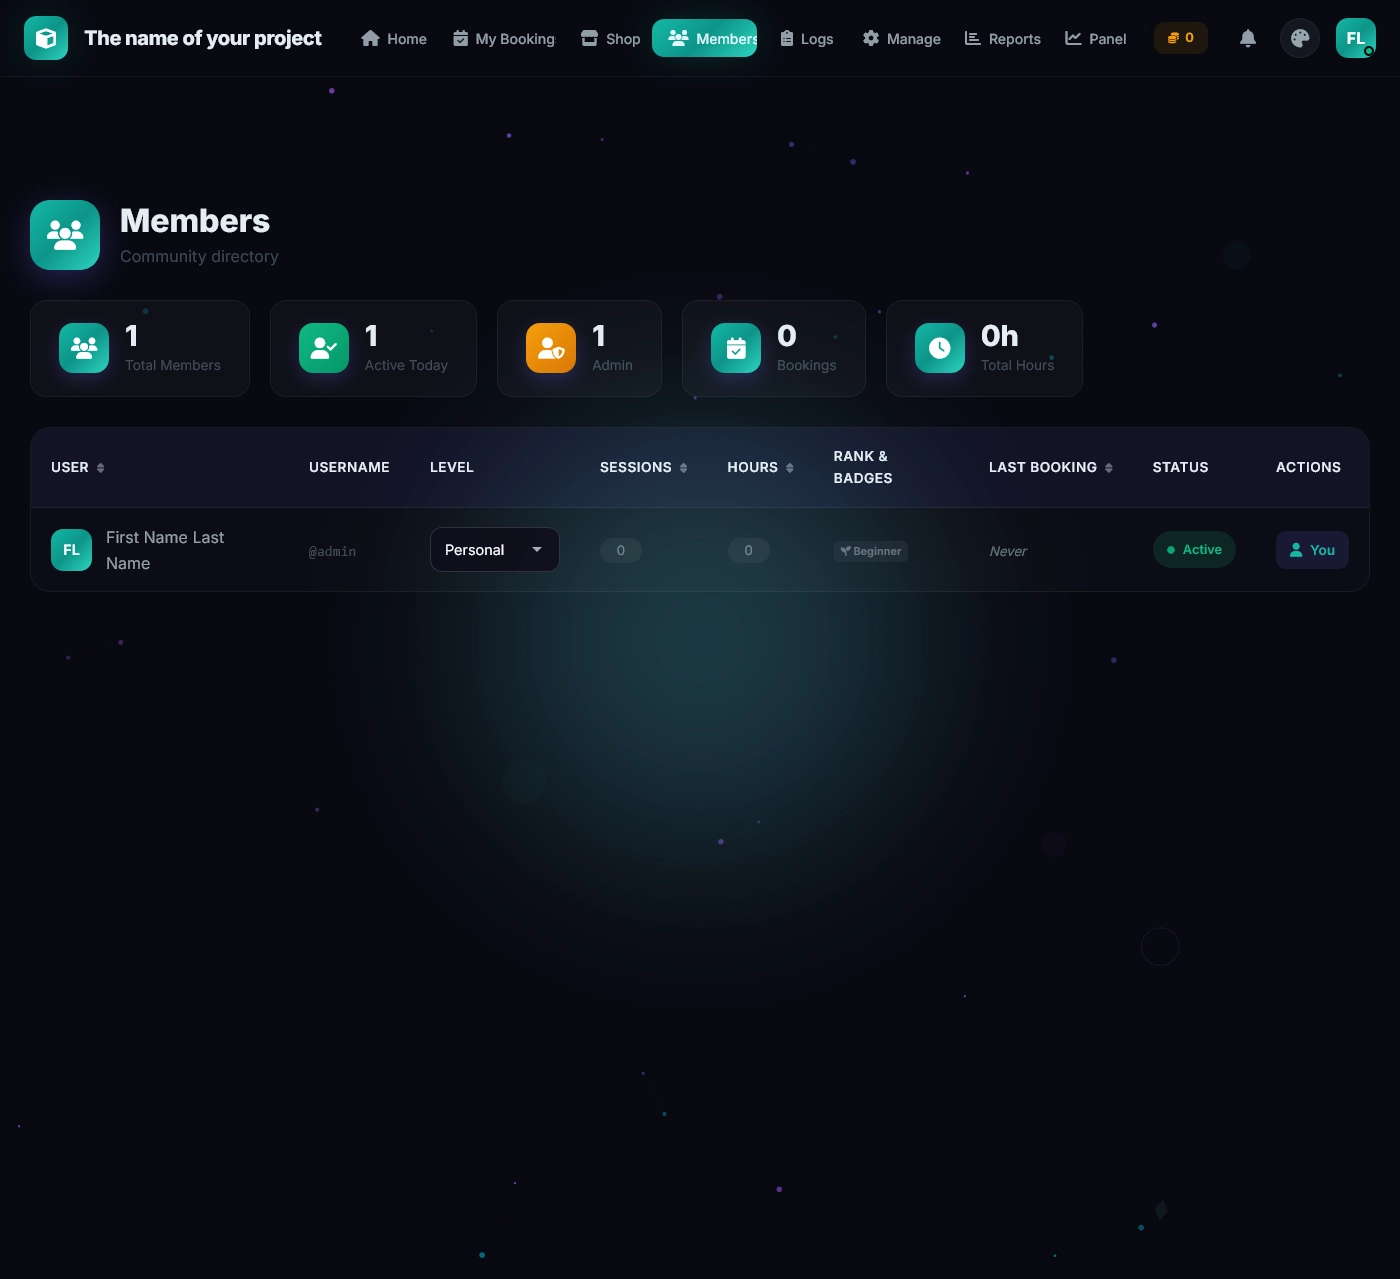
- View all users with search and filters
- Change user booking levels (3 customizable tiers)
- Suspend or reactivate accounts with reason
- Promote users to admin
- Award tokens manually
Booking Levels
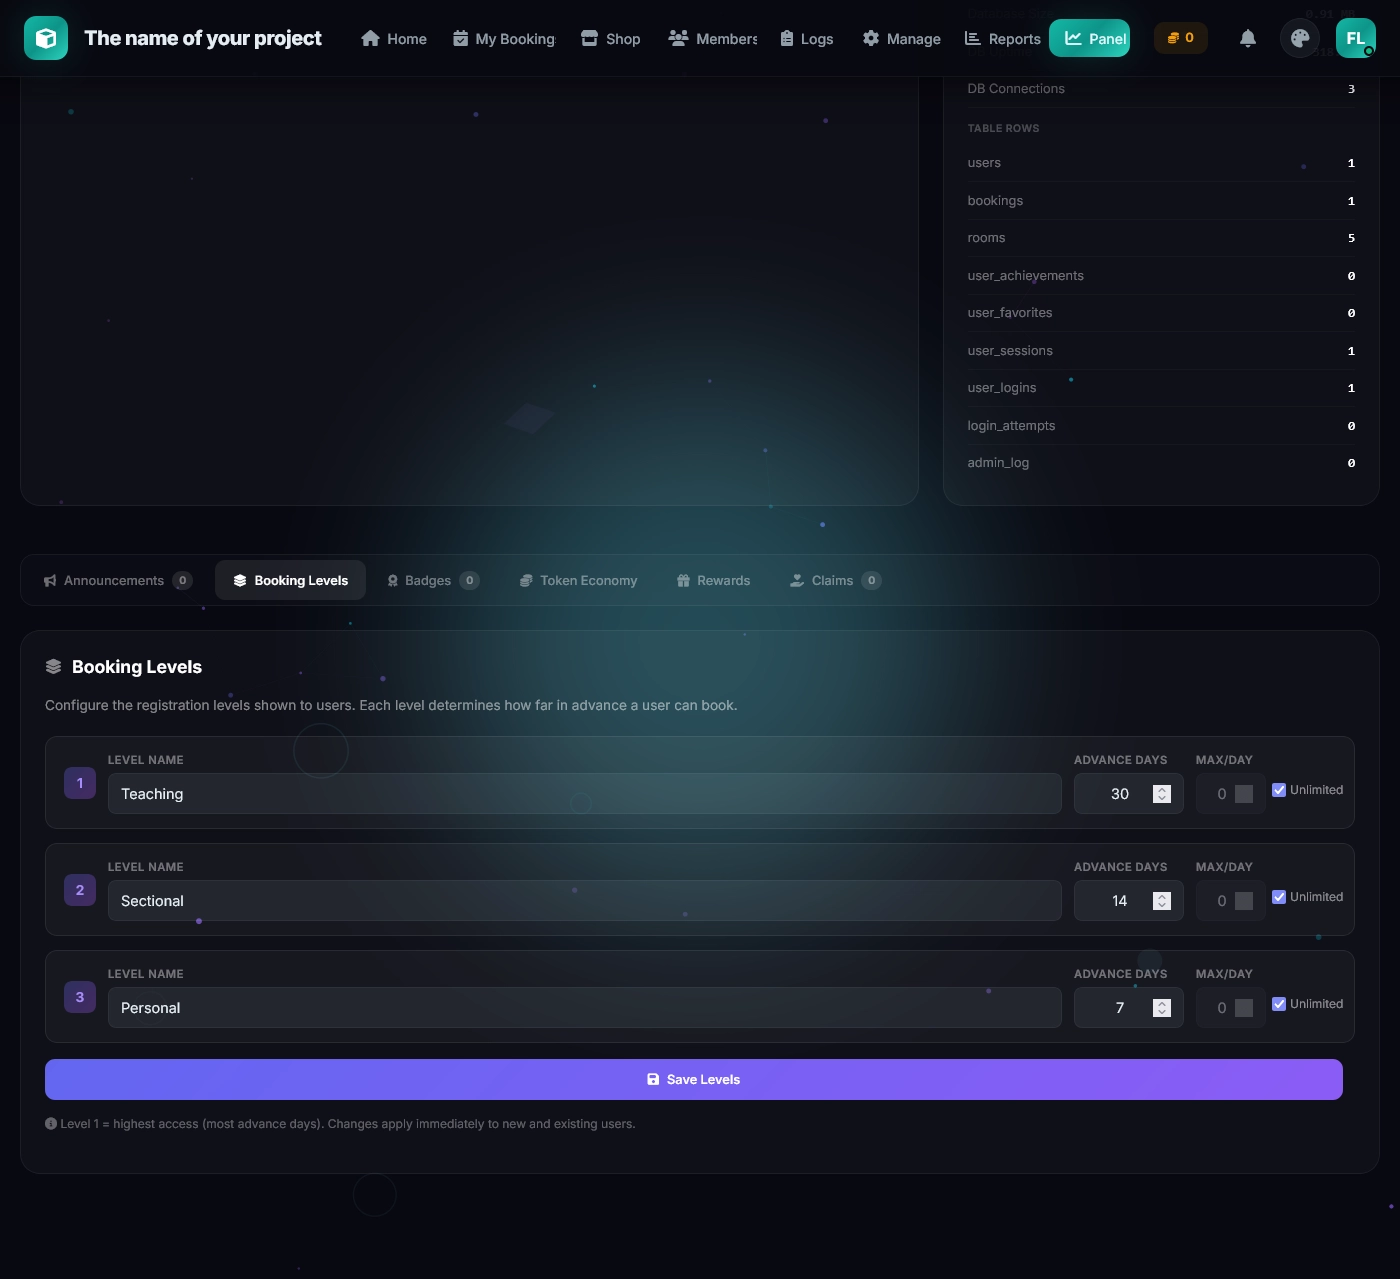
Configure 3 user levels from the admin panel:
| Setting | Description | Range |
|---|---|---|
| Level Name | Display name (e.g., "Student", "Teacher", "VIP") | Up to 30 characters |
| Days in Advance | How far ahead this level can book | 1–365 days |
| Max Bookings/Day | Maximum daily reservations | 0–50 (0 = unlimited) |
Announcements
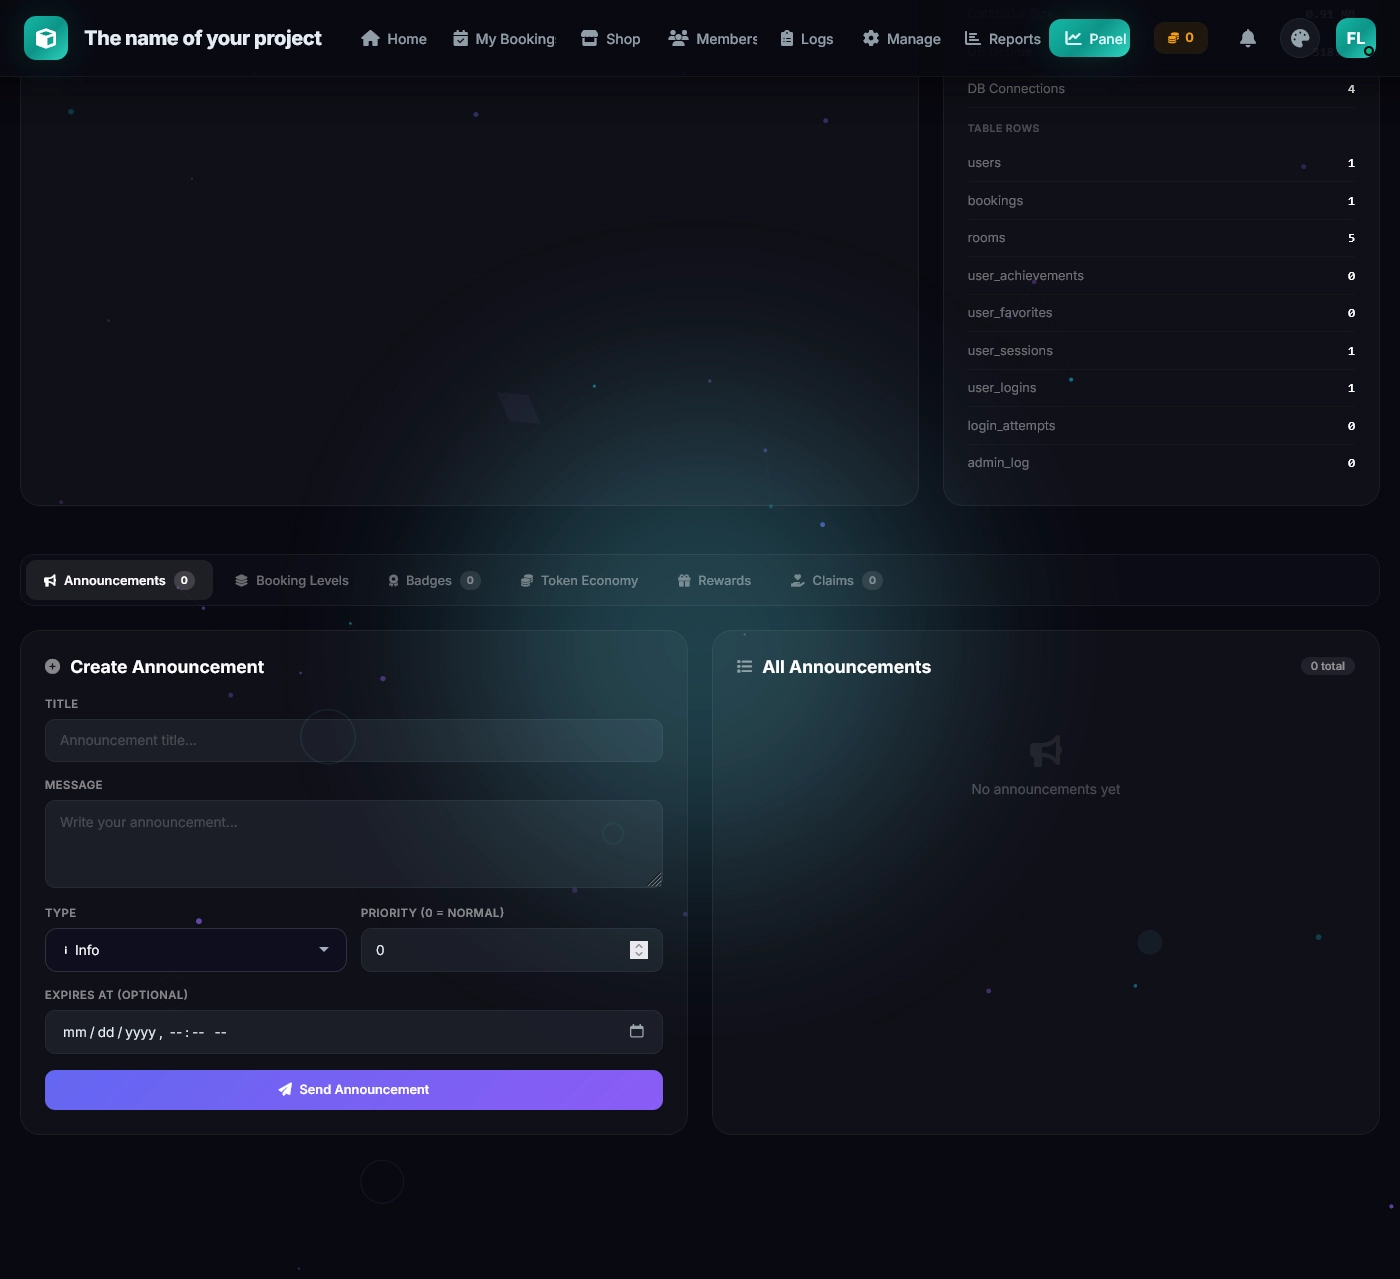
Create announcements with 3 types (Info, Warning, Celebration), optional priority, and expiration date. Announcements are delivered via in-app notification, push notification, and email broadcast simultaneously.
Badge & Reward Management
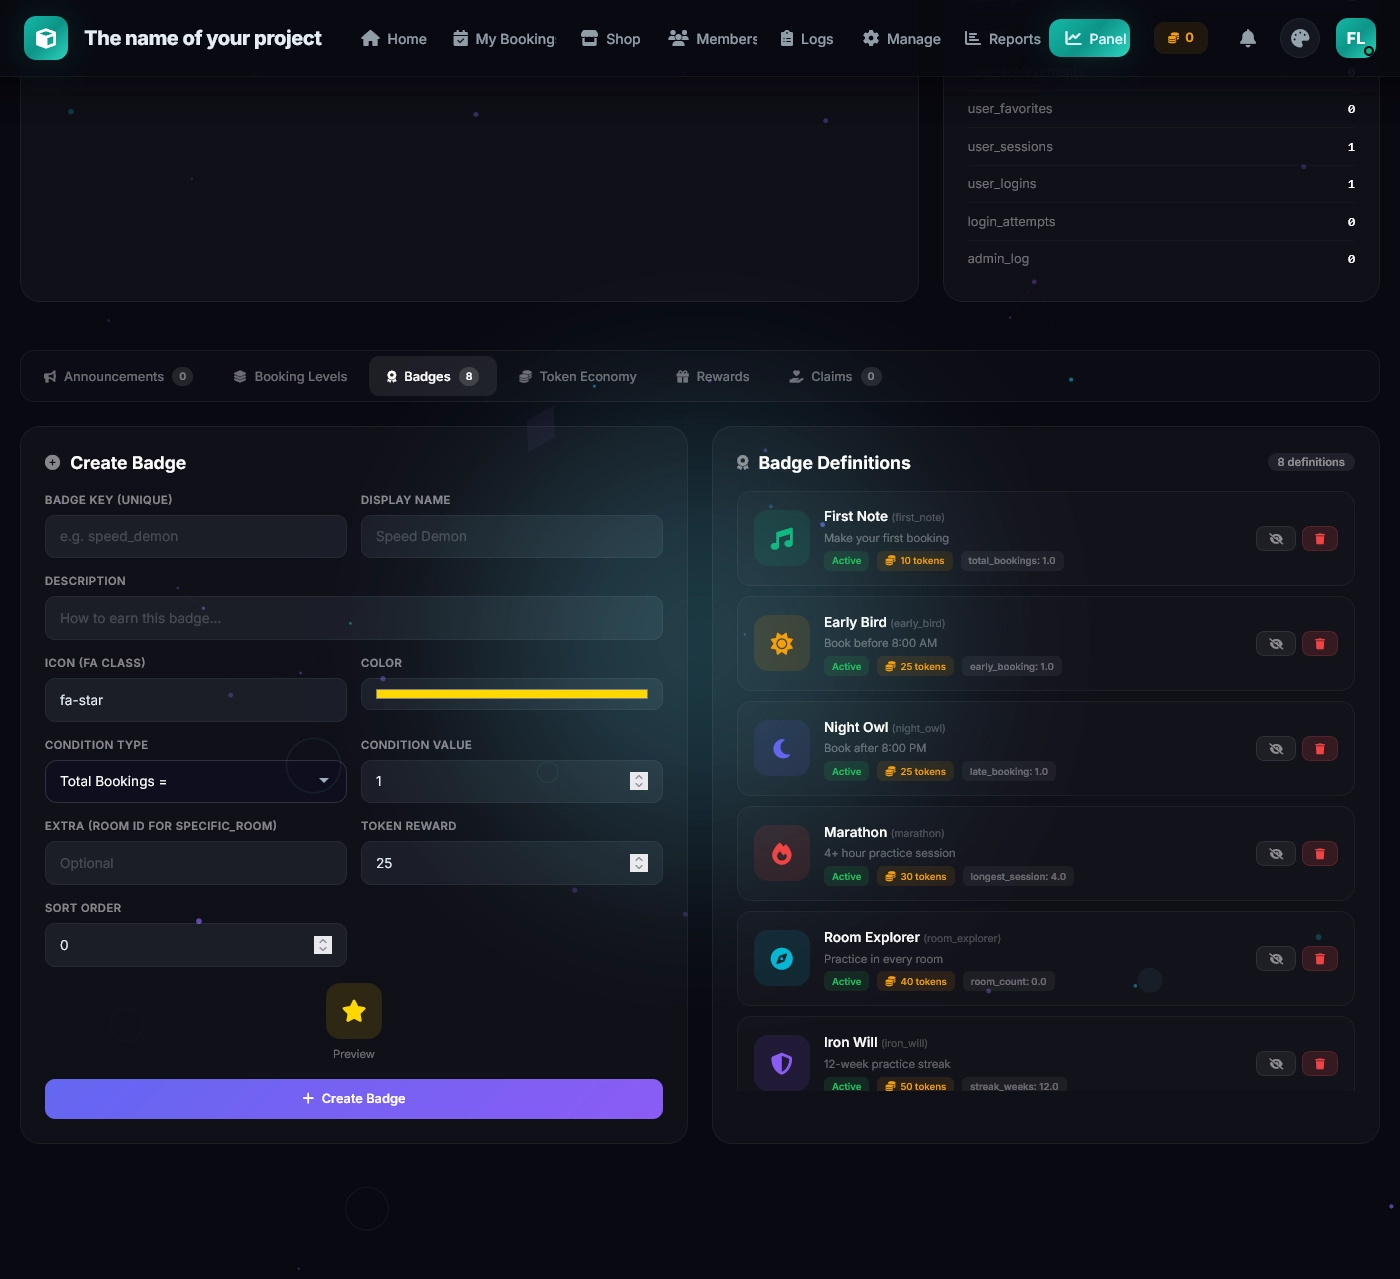
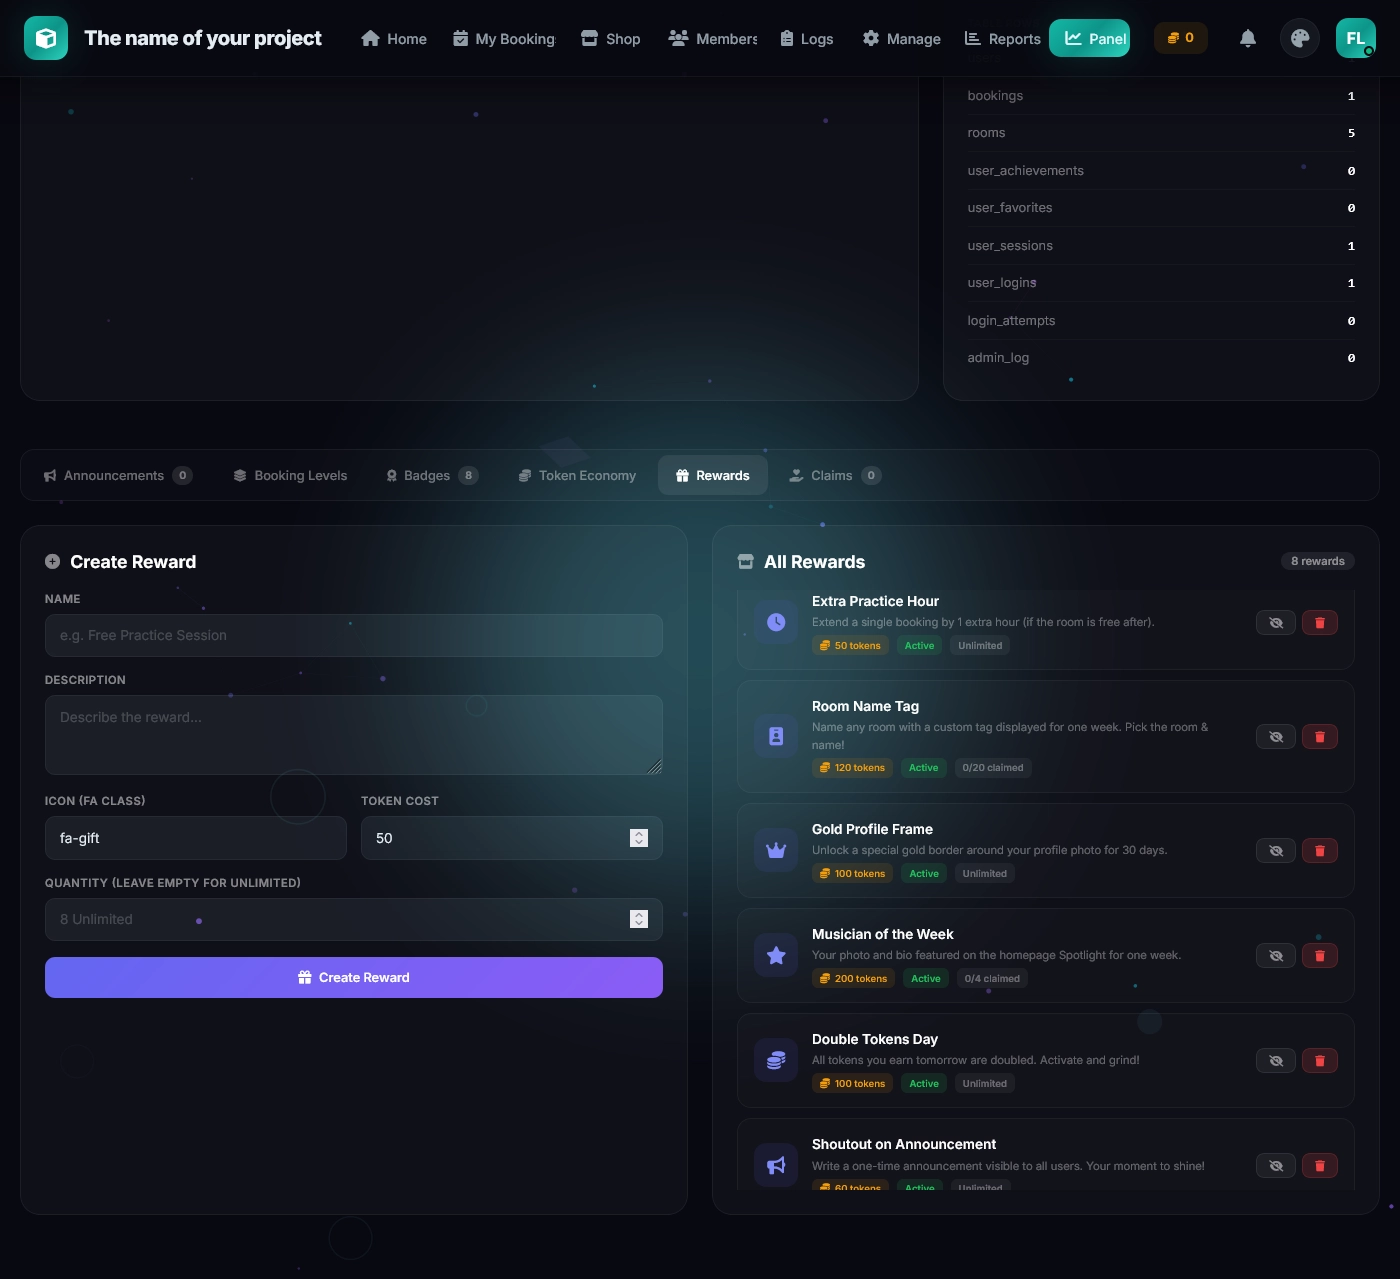
Create, edit, toggle, and delete custom badges and shop rewards with full control over pricing, quantities, and duration.
Token Economy
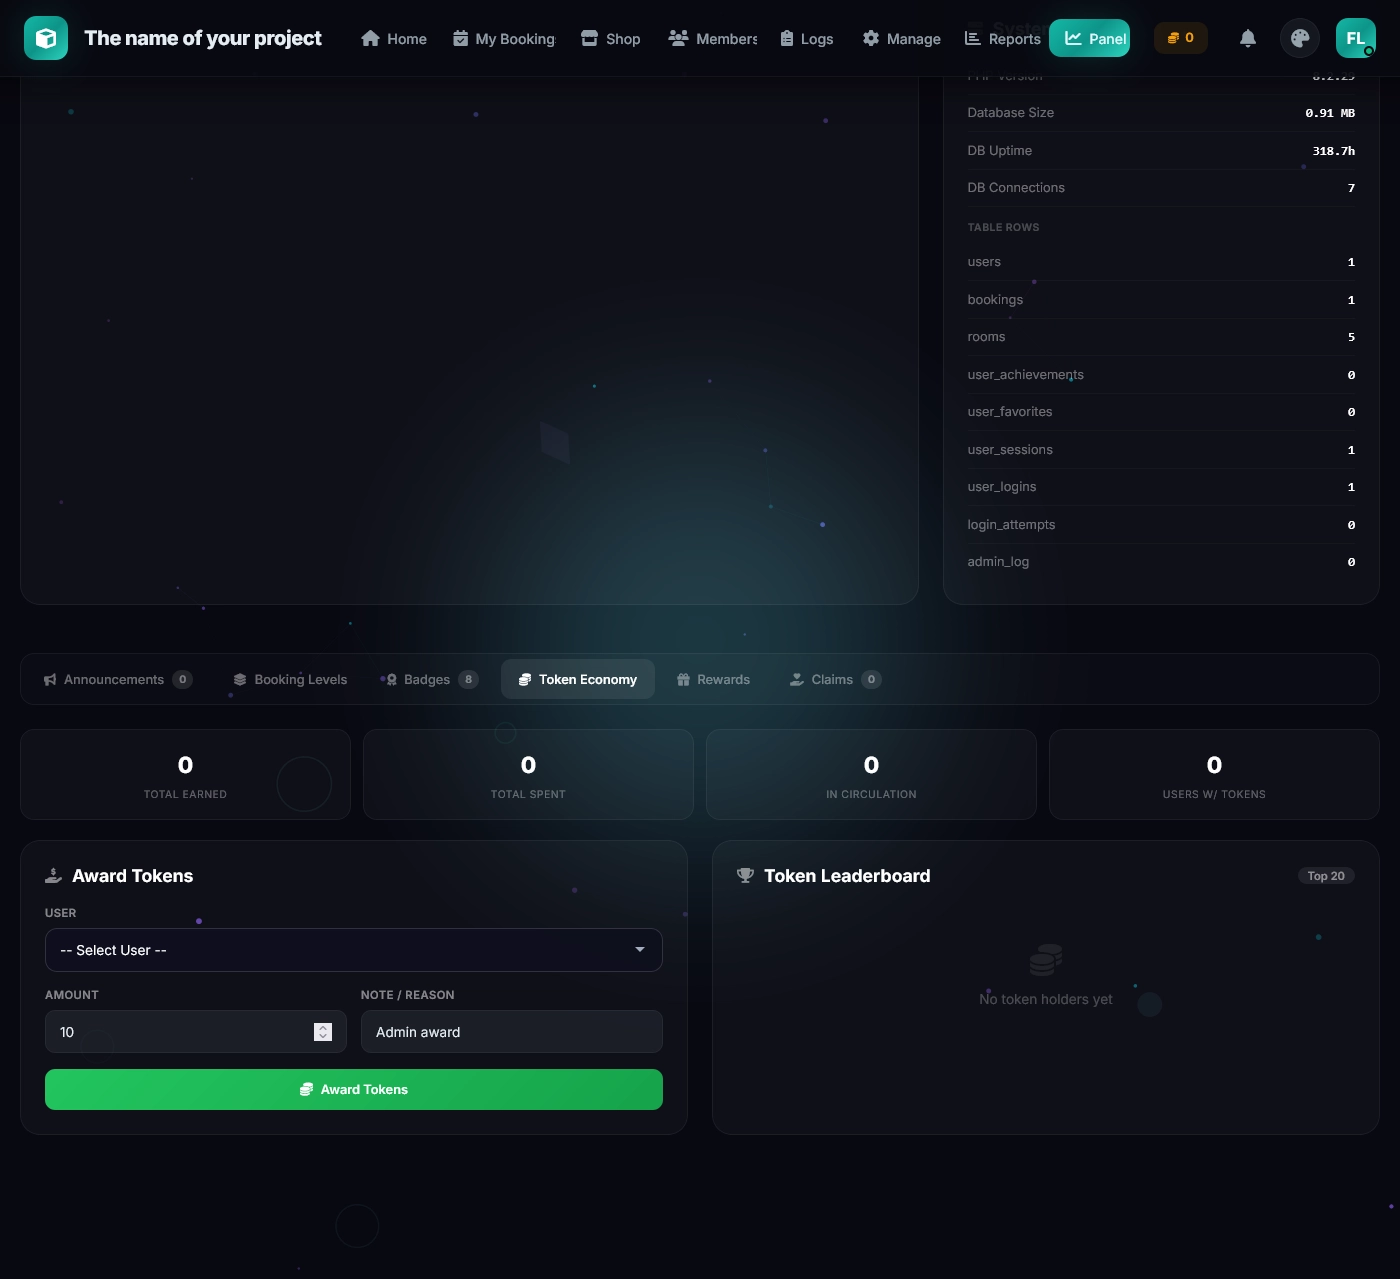
Monitor token circulation, adjust earning rates, and manage the overall economy from the admin panel.
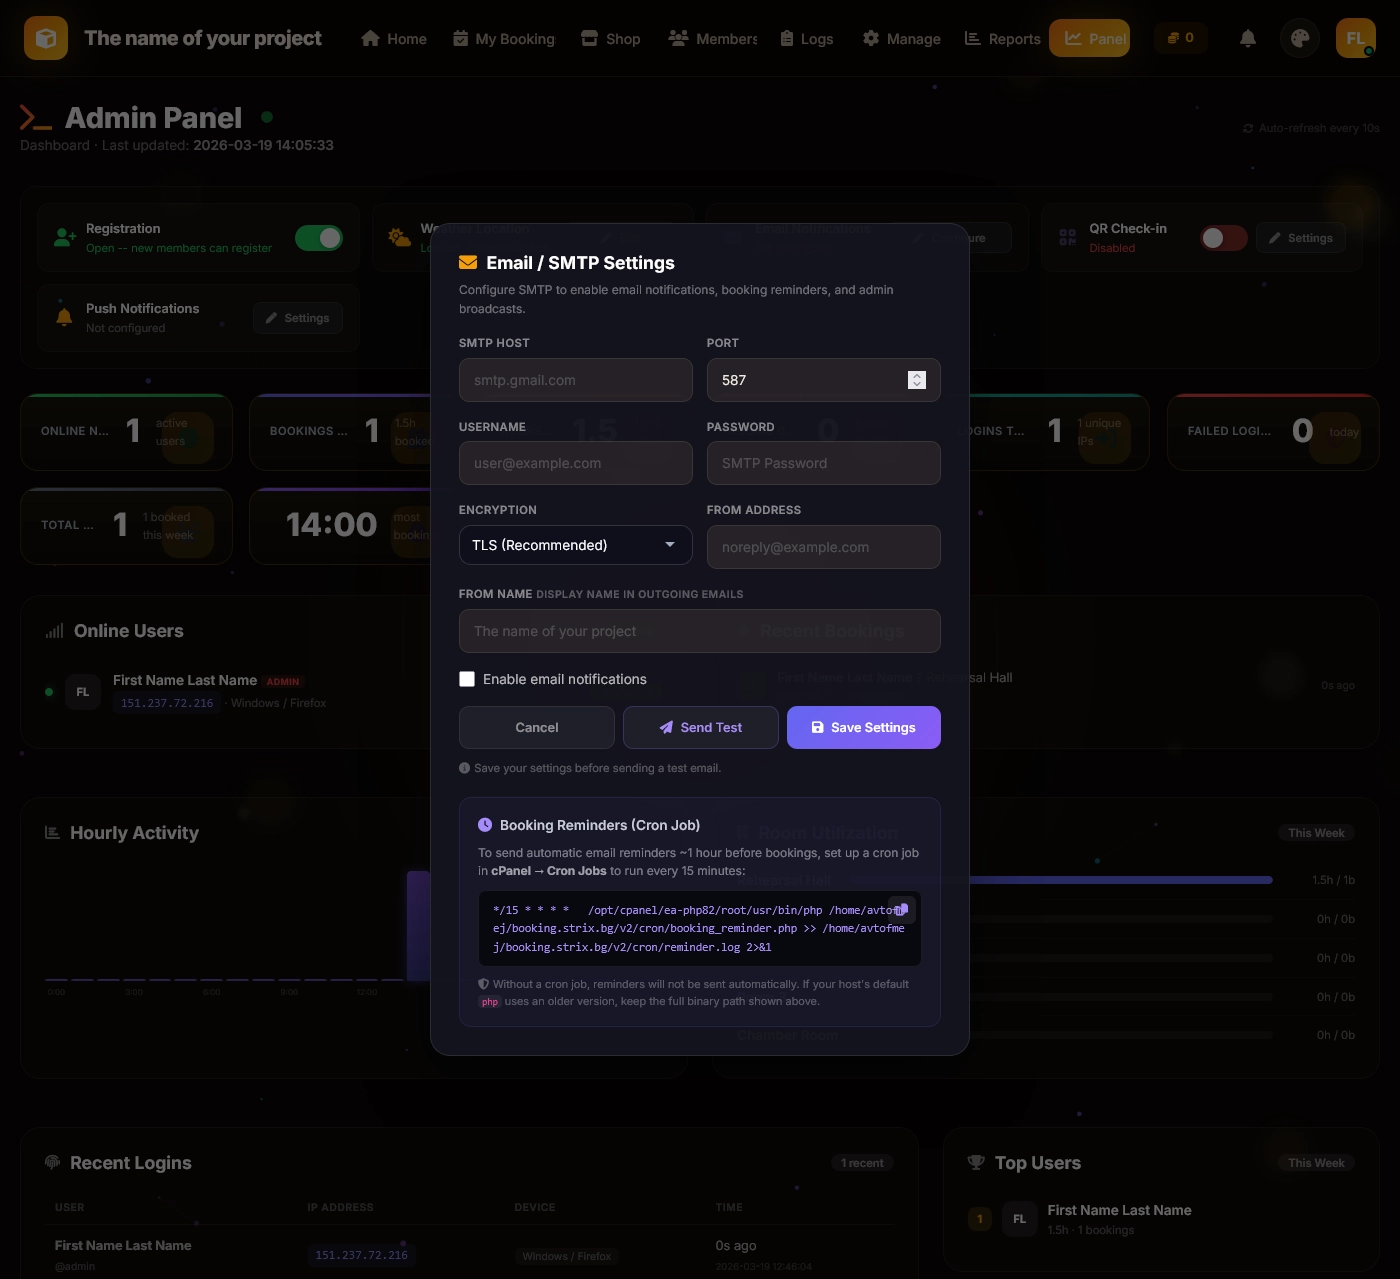
Email Configuration
Configure SMTP settings entirely from the admin panel: host, port, encryption (TLS/SSL/none), username, password, sender name, and sender email. Use the Test Email button to verify your configuration.
Reports & Logs
5 report types with custom date ranges:
- Room Utilization — Bookings and total minutes per room
- Daily Trends — Bookings and unique users per day
- Peak Hours — Booking distribution by hour
- User Activity — Top bookers with check-in rates
- Summary — Total bookings, hours, cancellations, averages
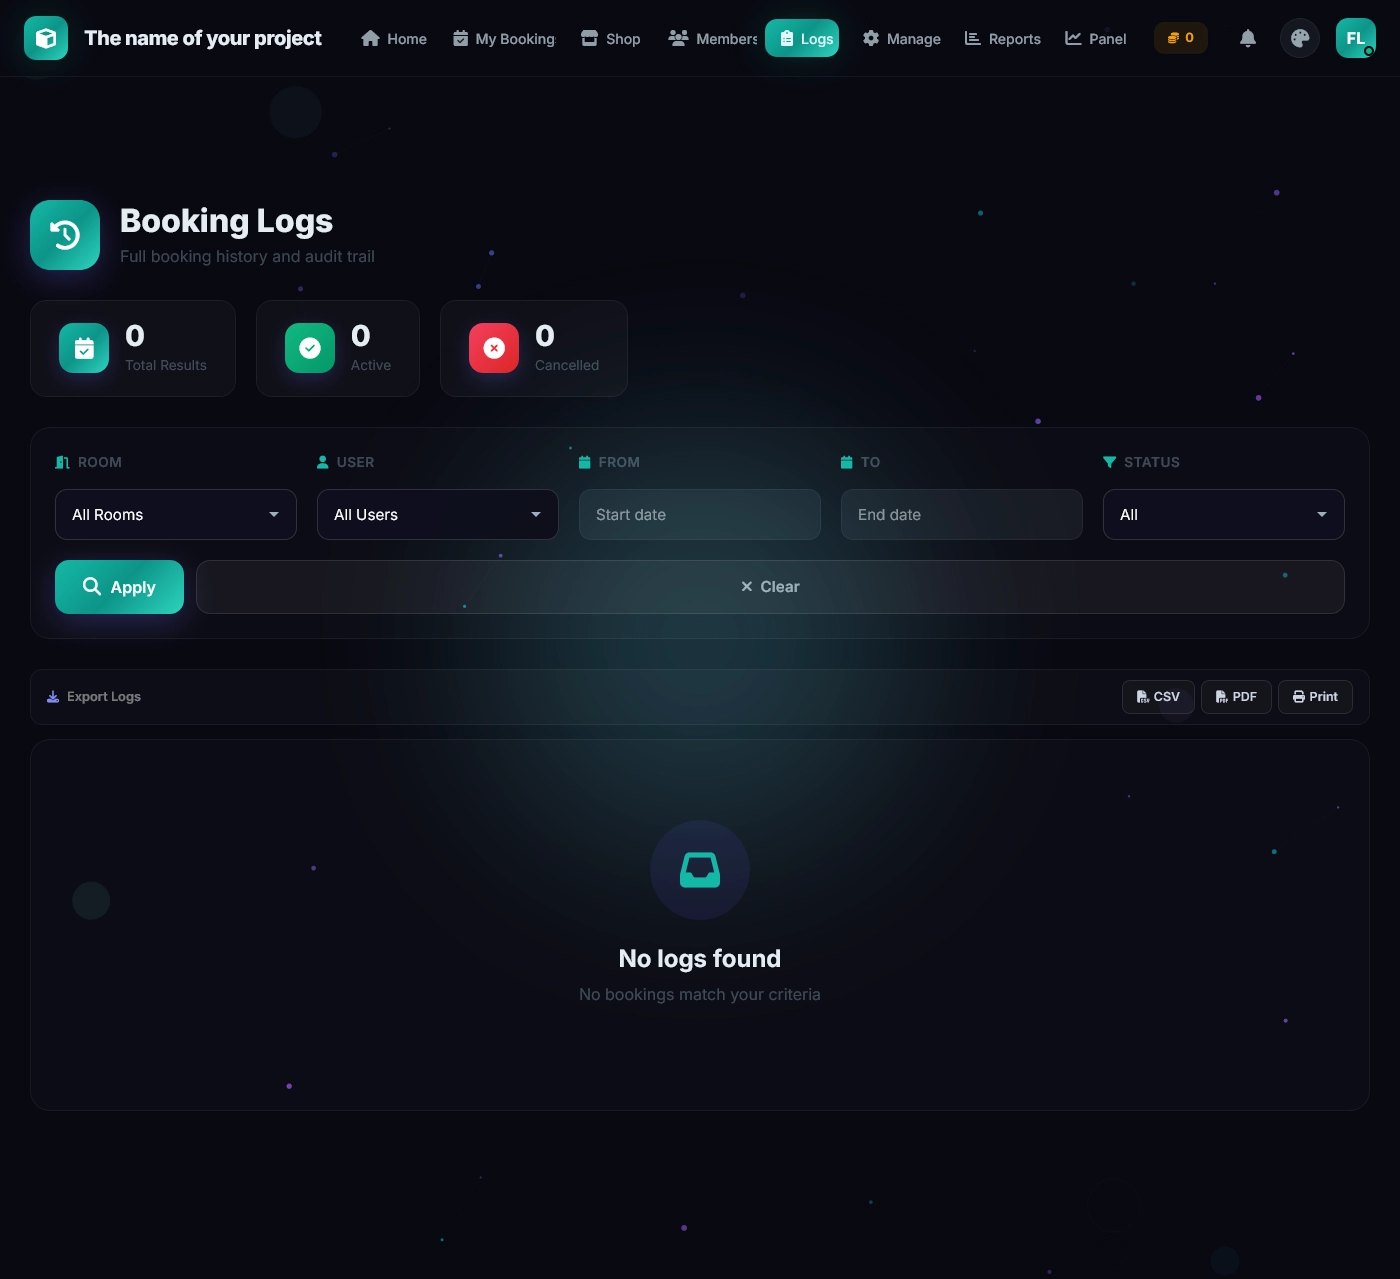
Booking logs support filtering, pagination, and CSV/PDF export.
8. User Guide
Browsing Rooms
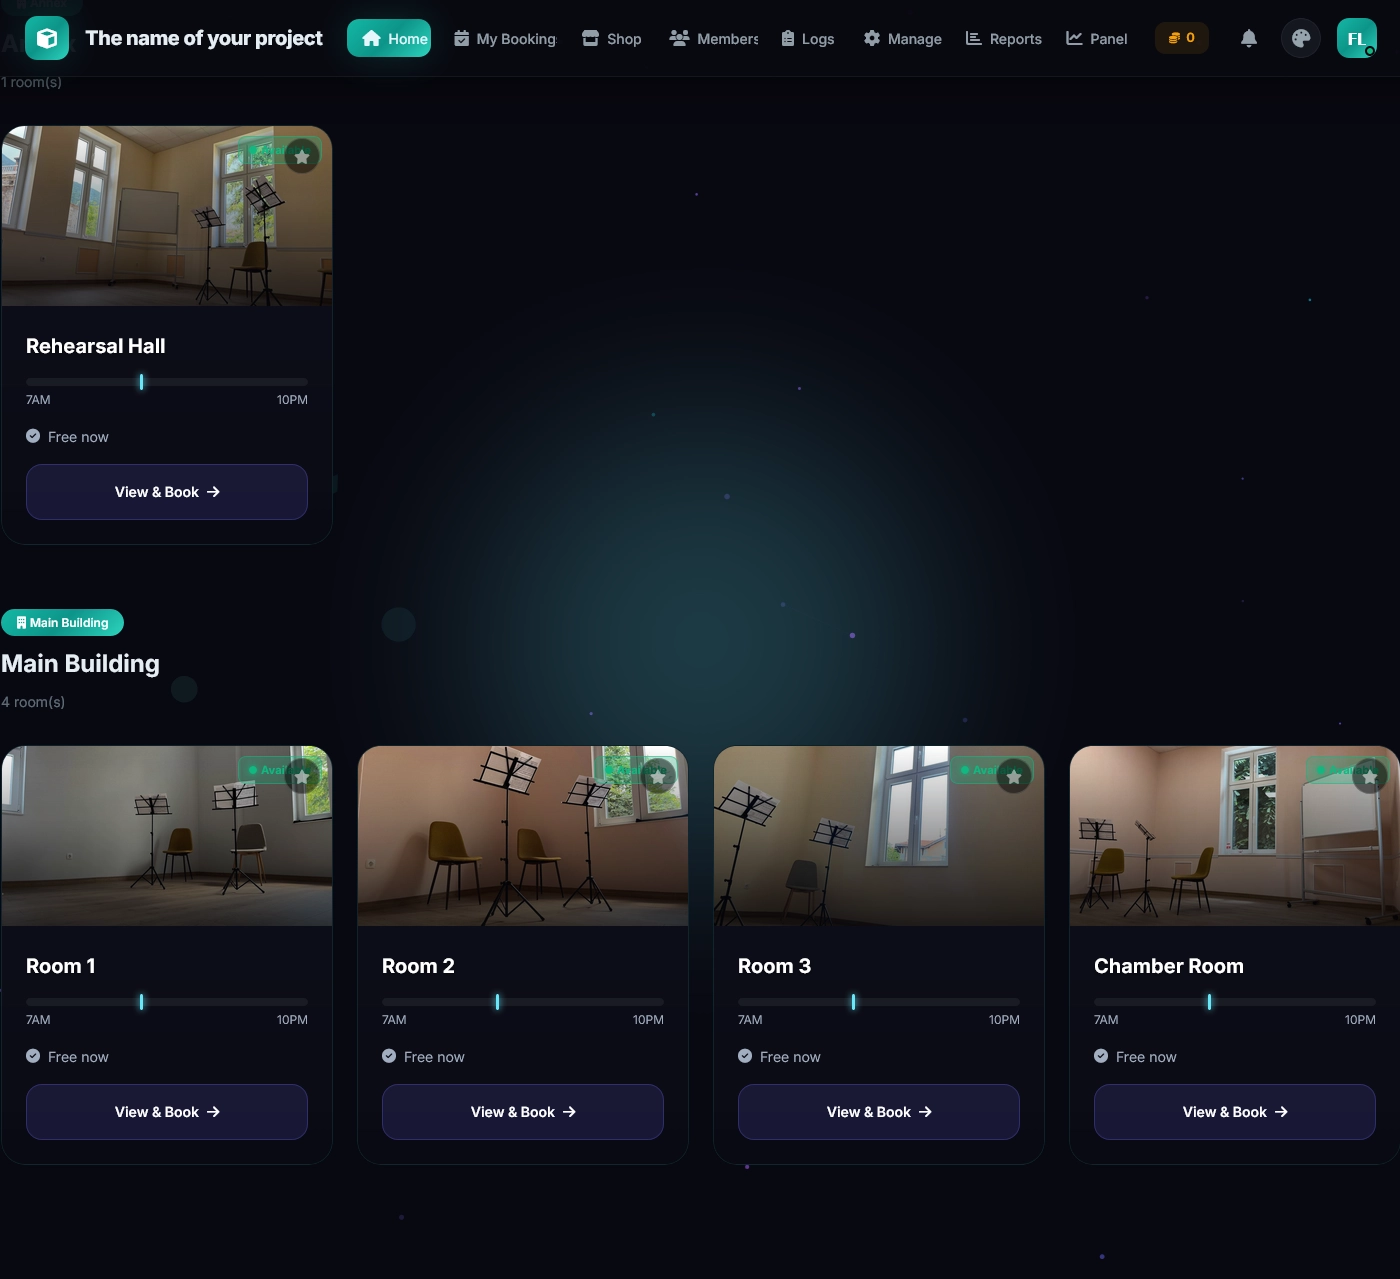
The homepage displays all rooms organized by building. Each room card shows the room photo, amenity icons, and current availability status.
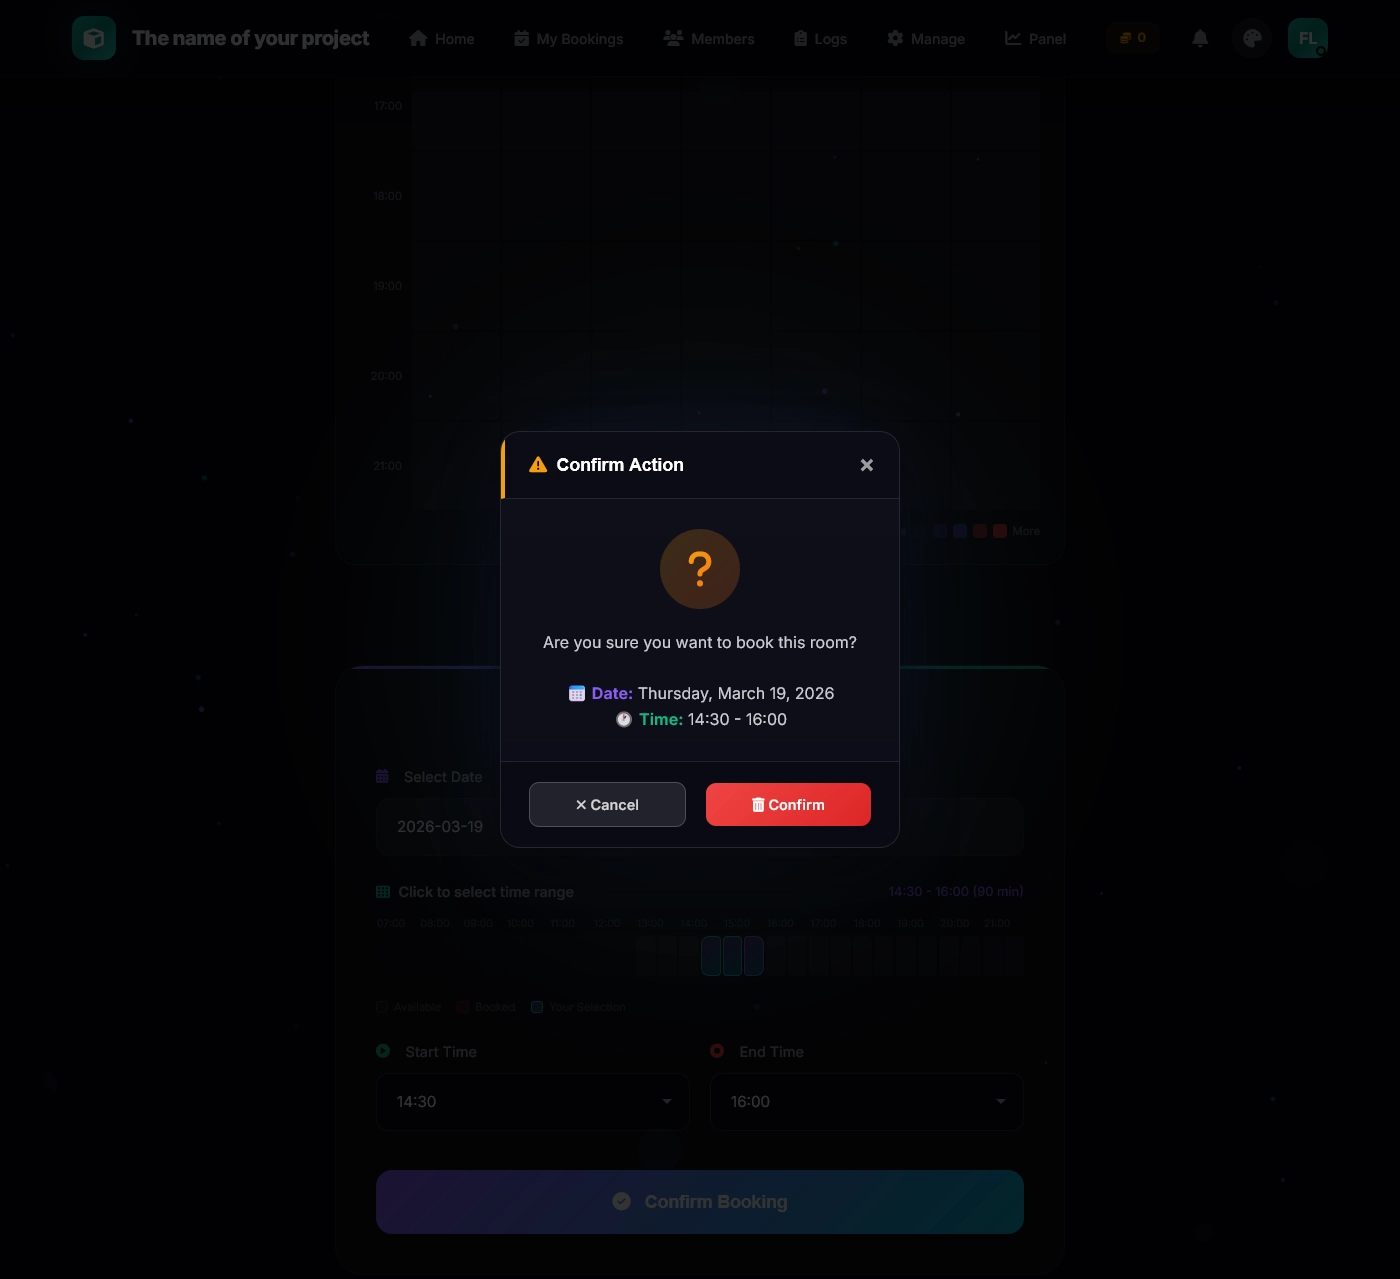
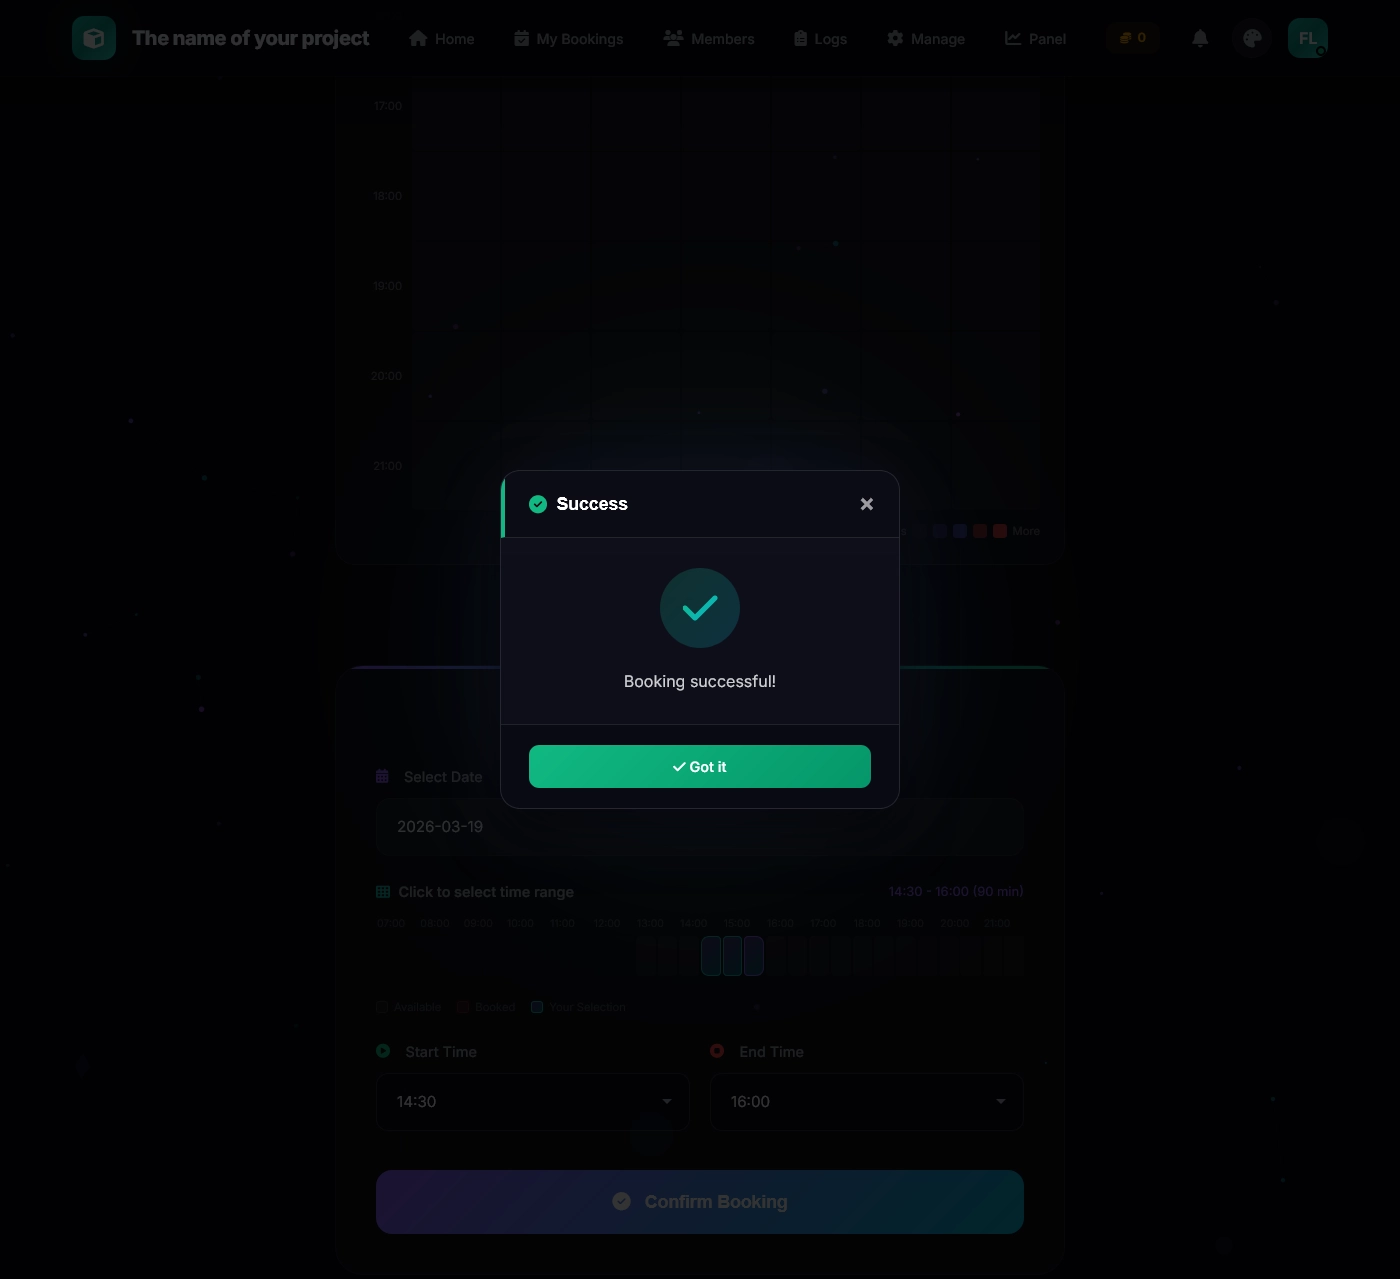
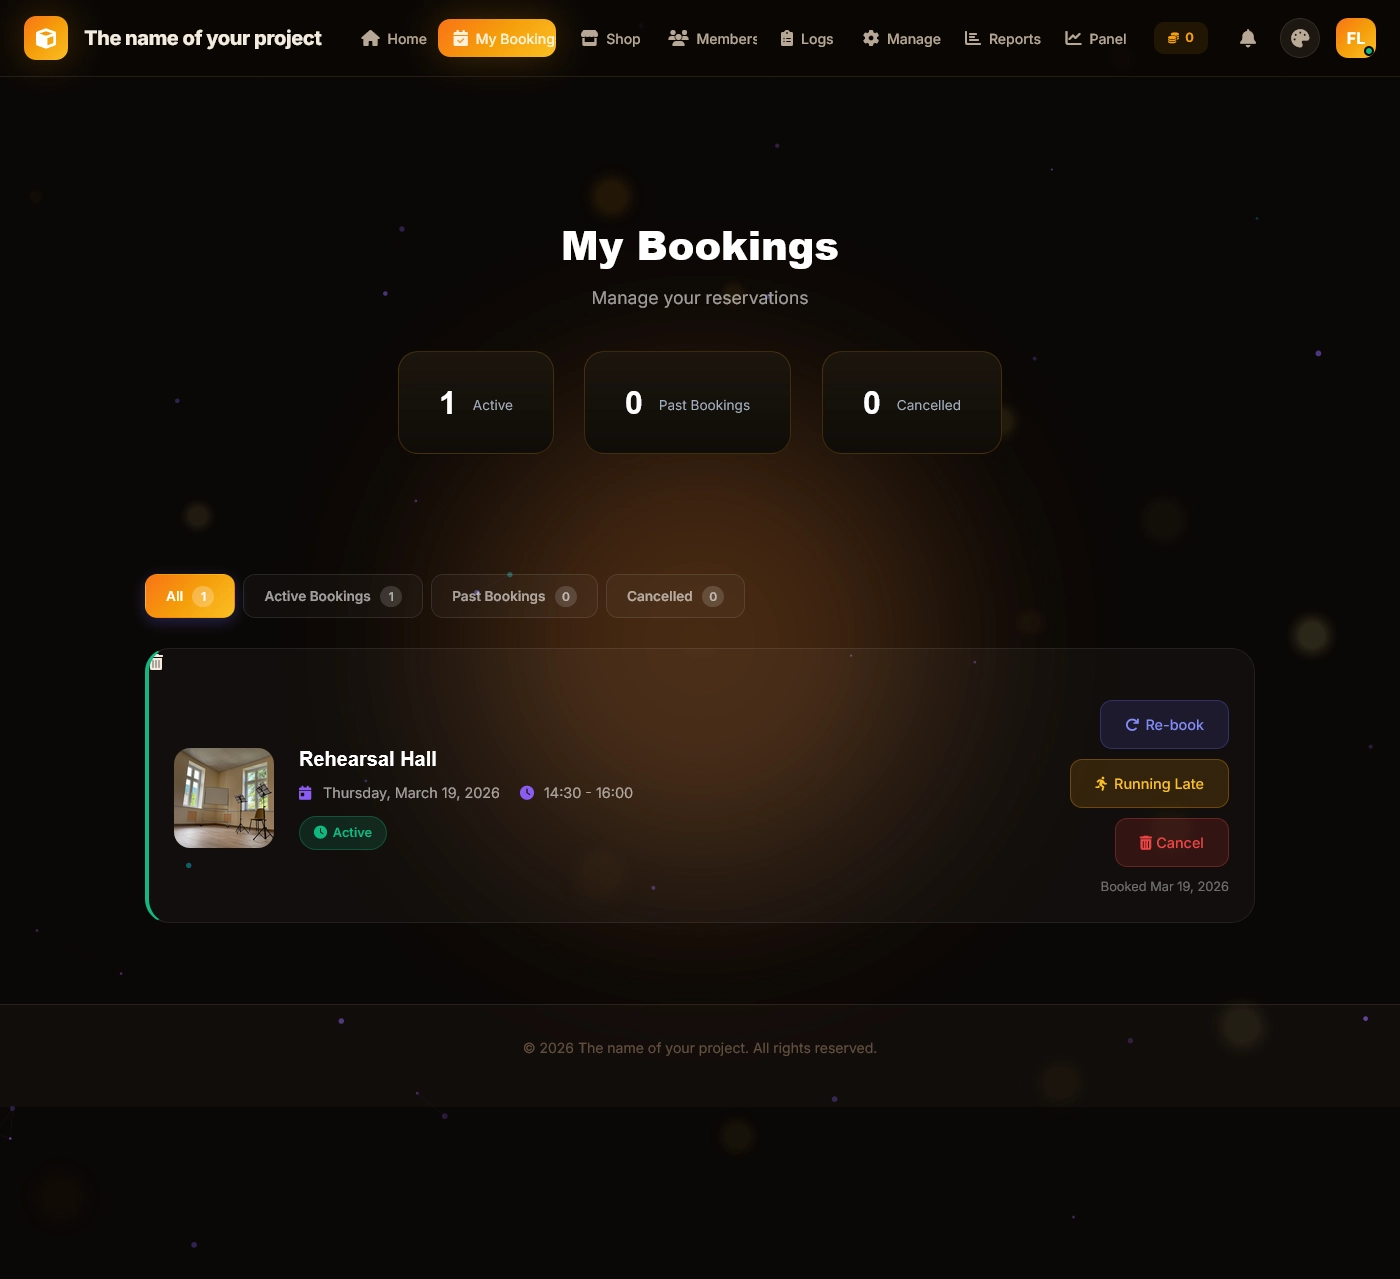
Booking a Room
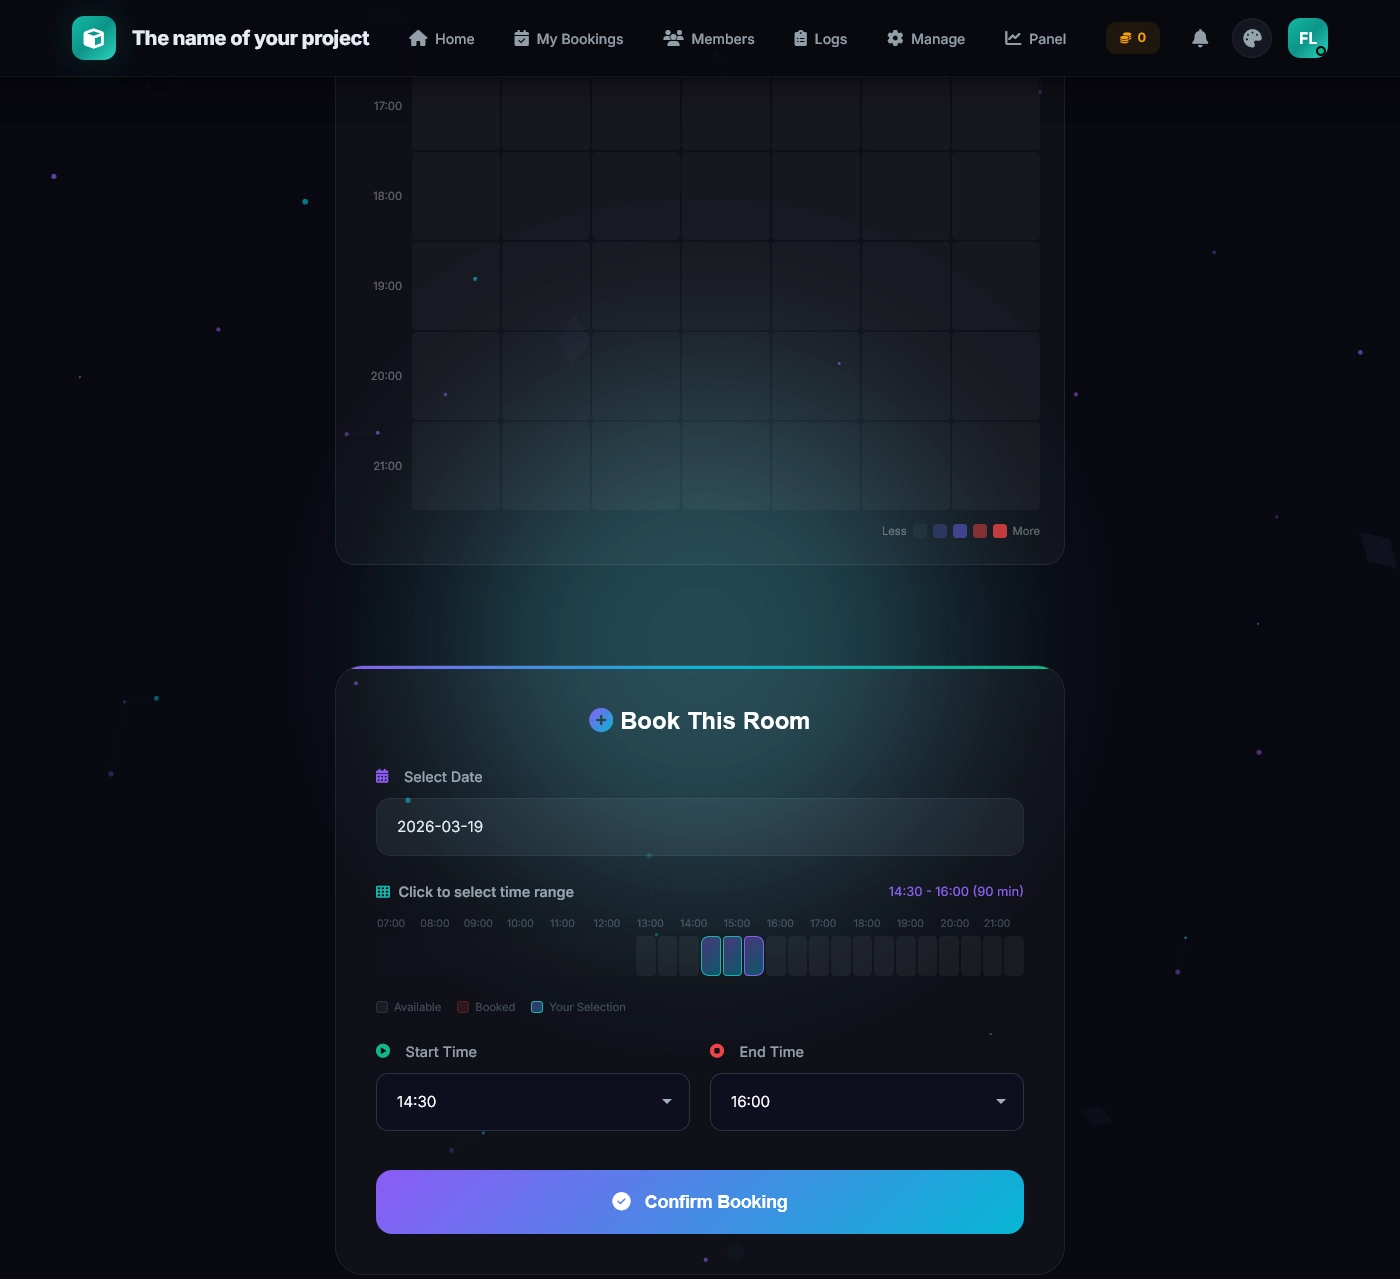
- Click a room card to view its detail page (image, amenities, heatmap, availability)
- Select a date and time using the visual time-slot picker or dropdown selectors
- Click Book — the system checks for conflicts in real-time
- Confirm the booking details
- View your bookings under My Bookings
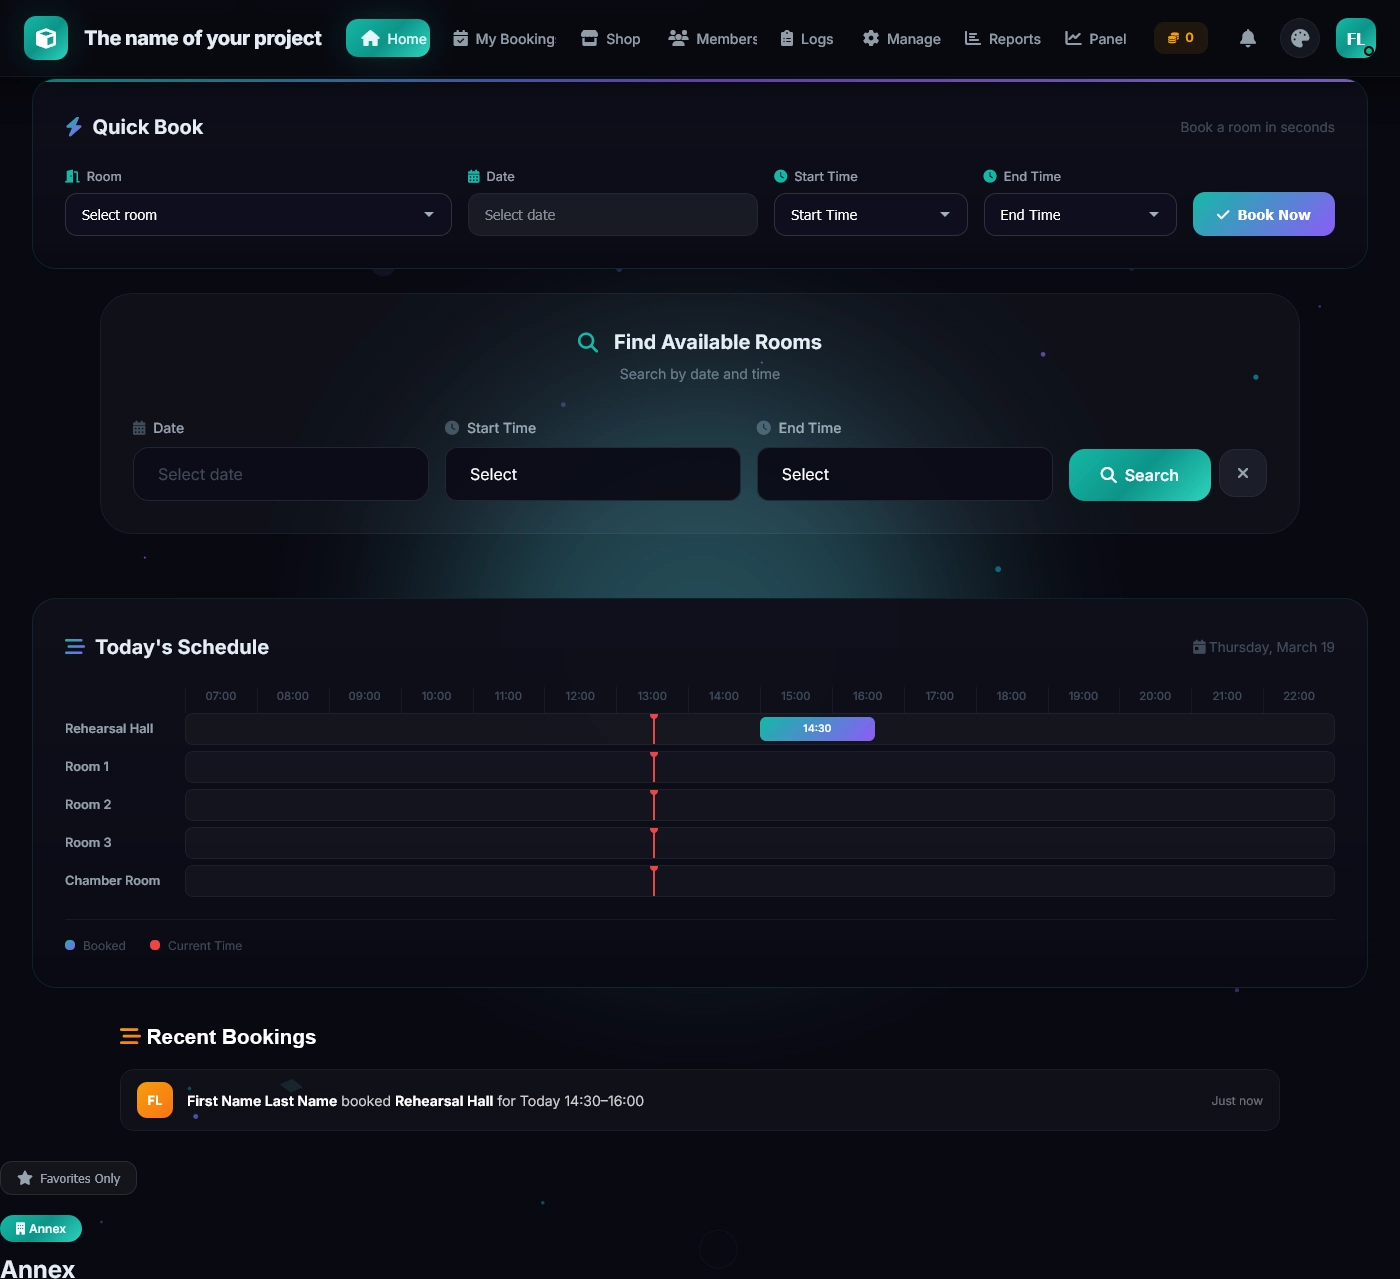
Quick Book Widget
Use the quick-book widget on the homepage to instantly find and book available rooms for a specific date and time range.
QR Check-In (when enabled)
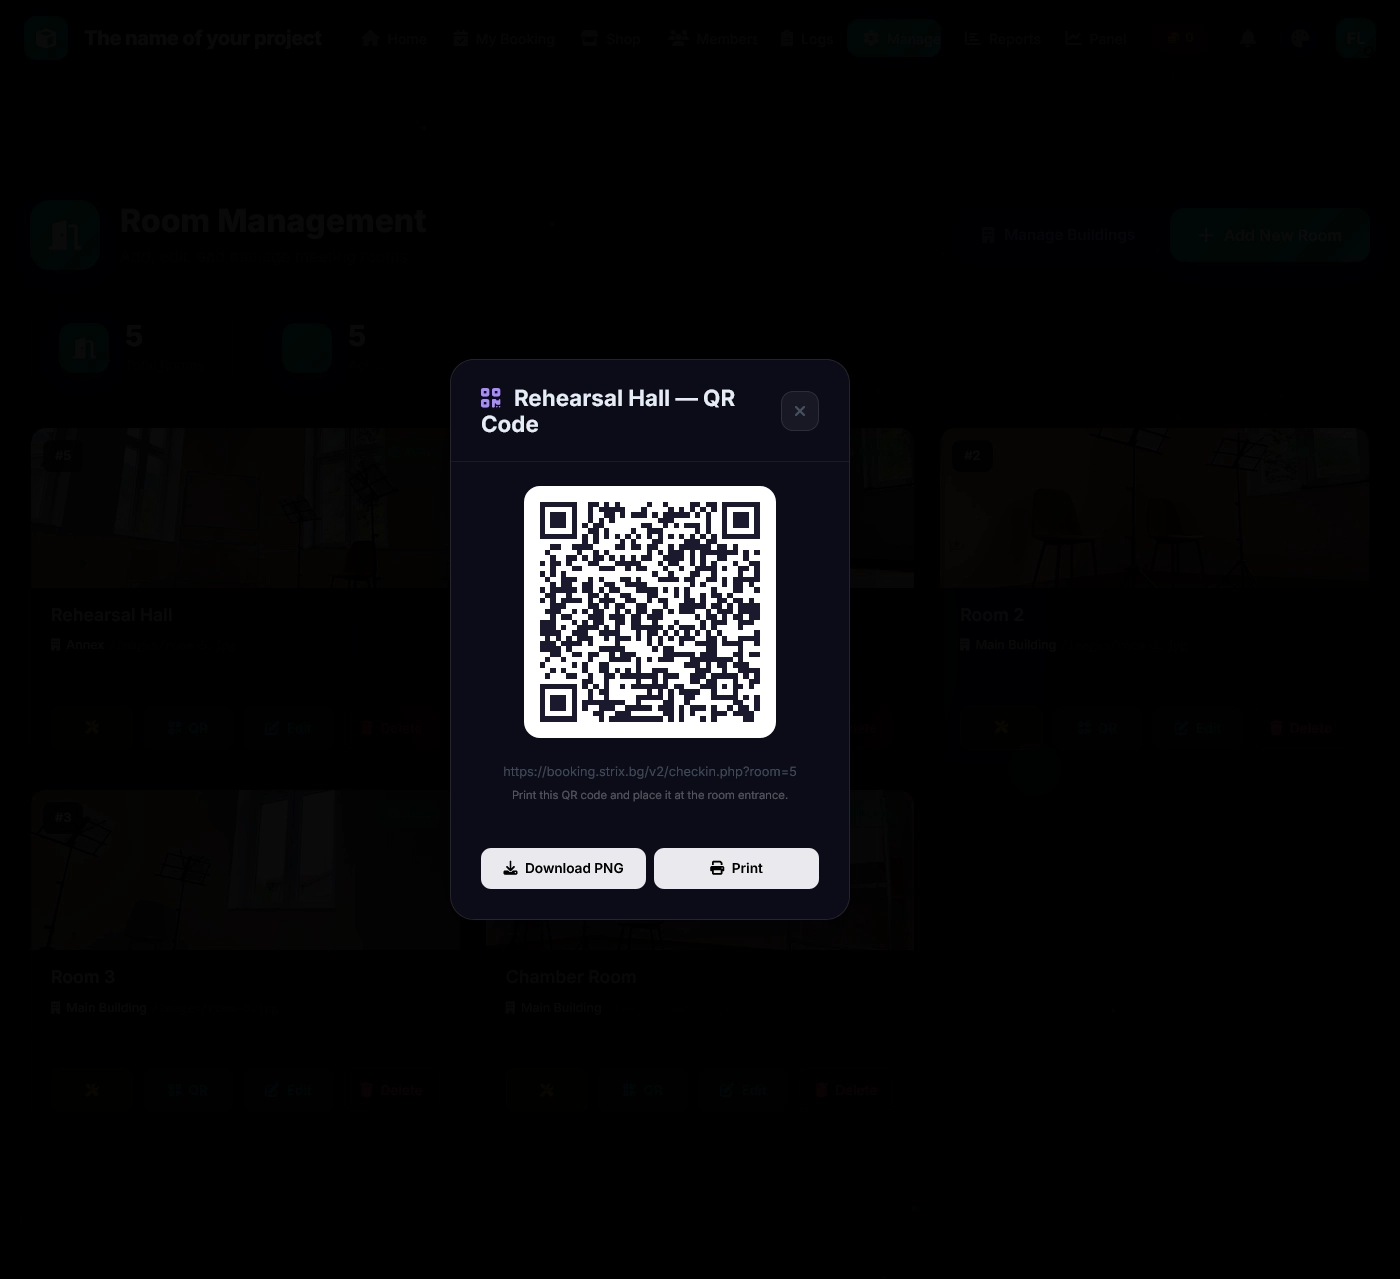
- A QR code is printed/posted on each room's door
- Open the app (PWA) and go to Check-In or use the scan button
- Scan the room's QR code with your device's camera
- The system verifies your GPS location against the building's geofence
- If within range, you're checked in. If not, you see your exact distance
- To leave early, scan the QR code again — remaining time is freed instantly
Reward Shop & Gamification
- Badges: Earn 8 achievement badges by reaching milestones (bookings, hours, streaks, etc.)
- Ranks: Progress through 6 ranks from Beginner to Maestro
- Streaks: Maintain consecutive weekly booking streaks
- Leaderboard: Compete on the weekly leaderboard by practice hours
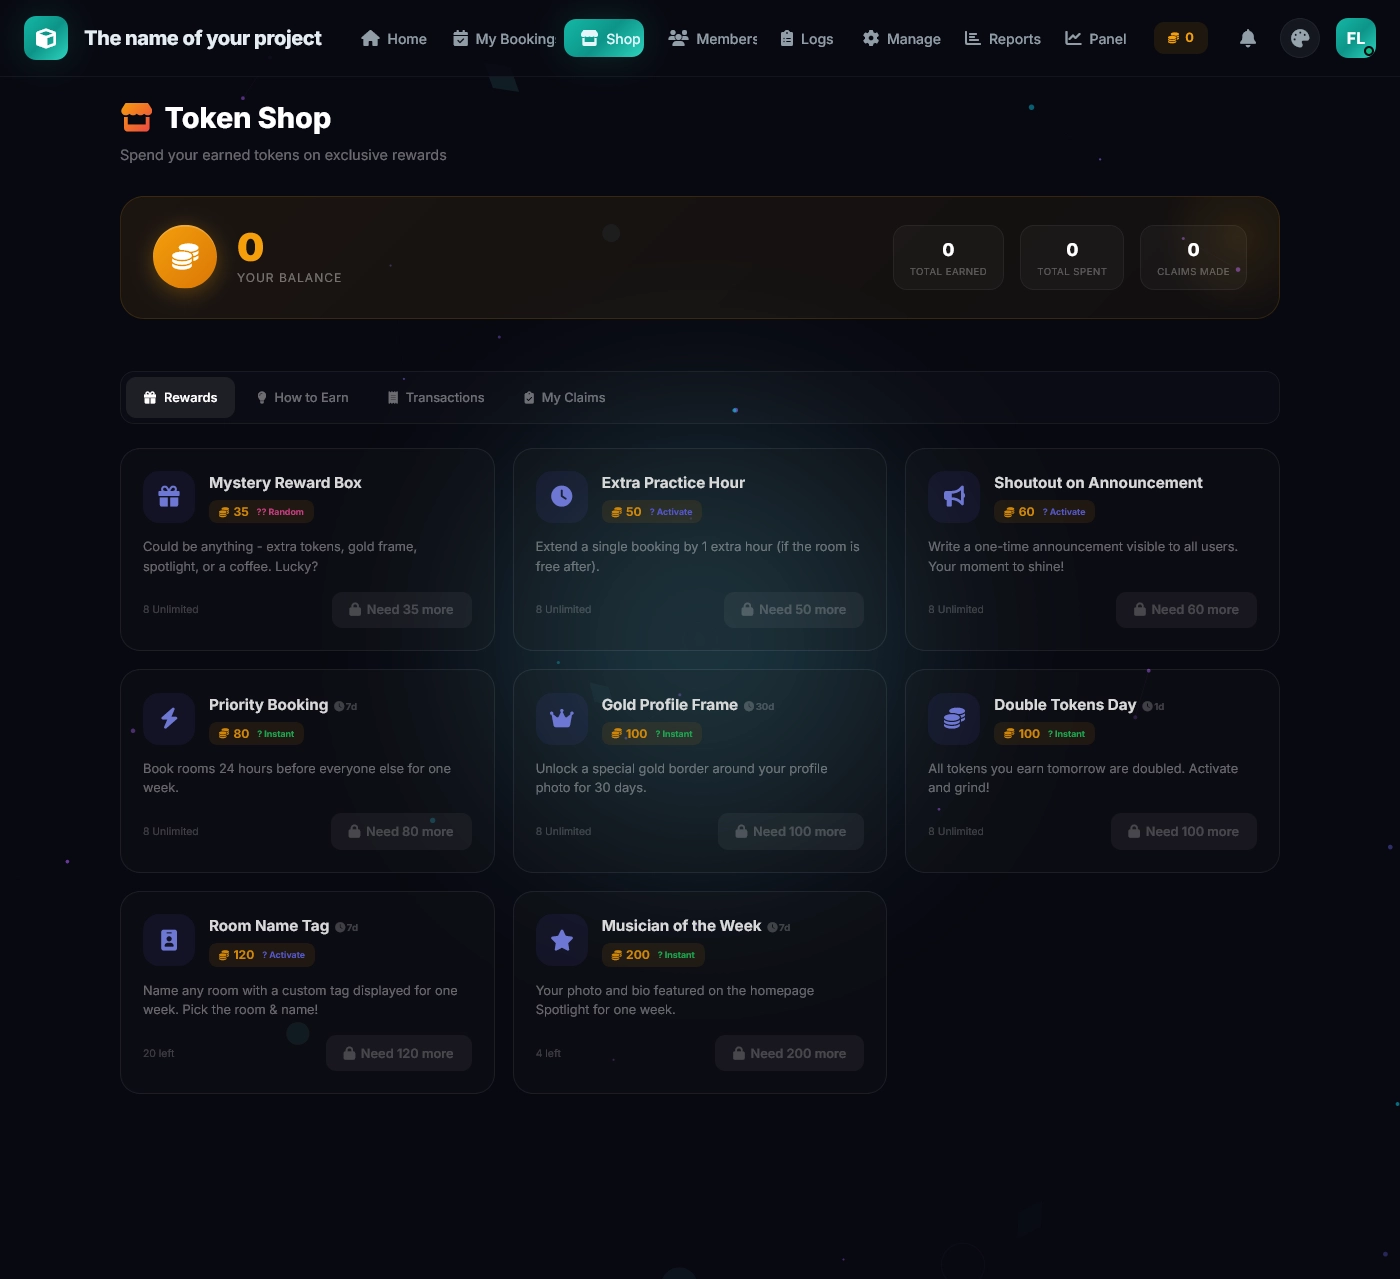
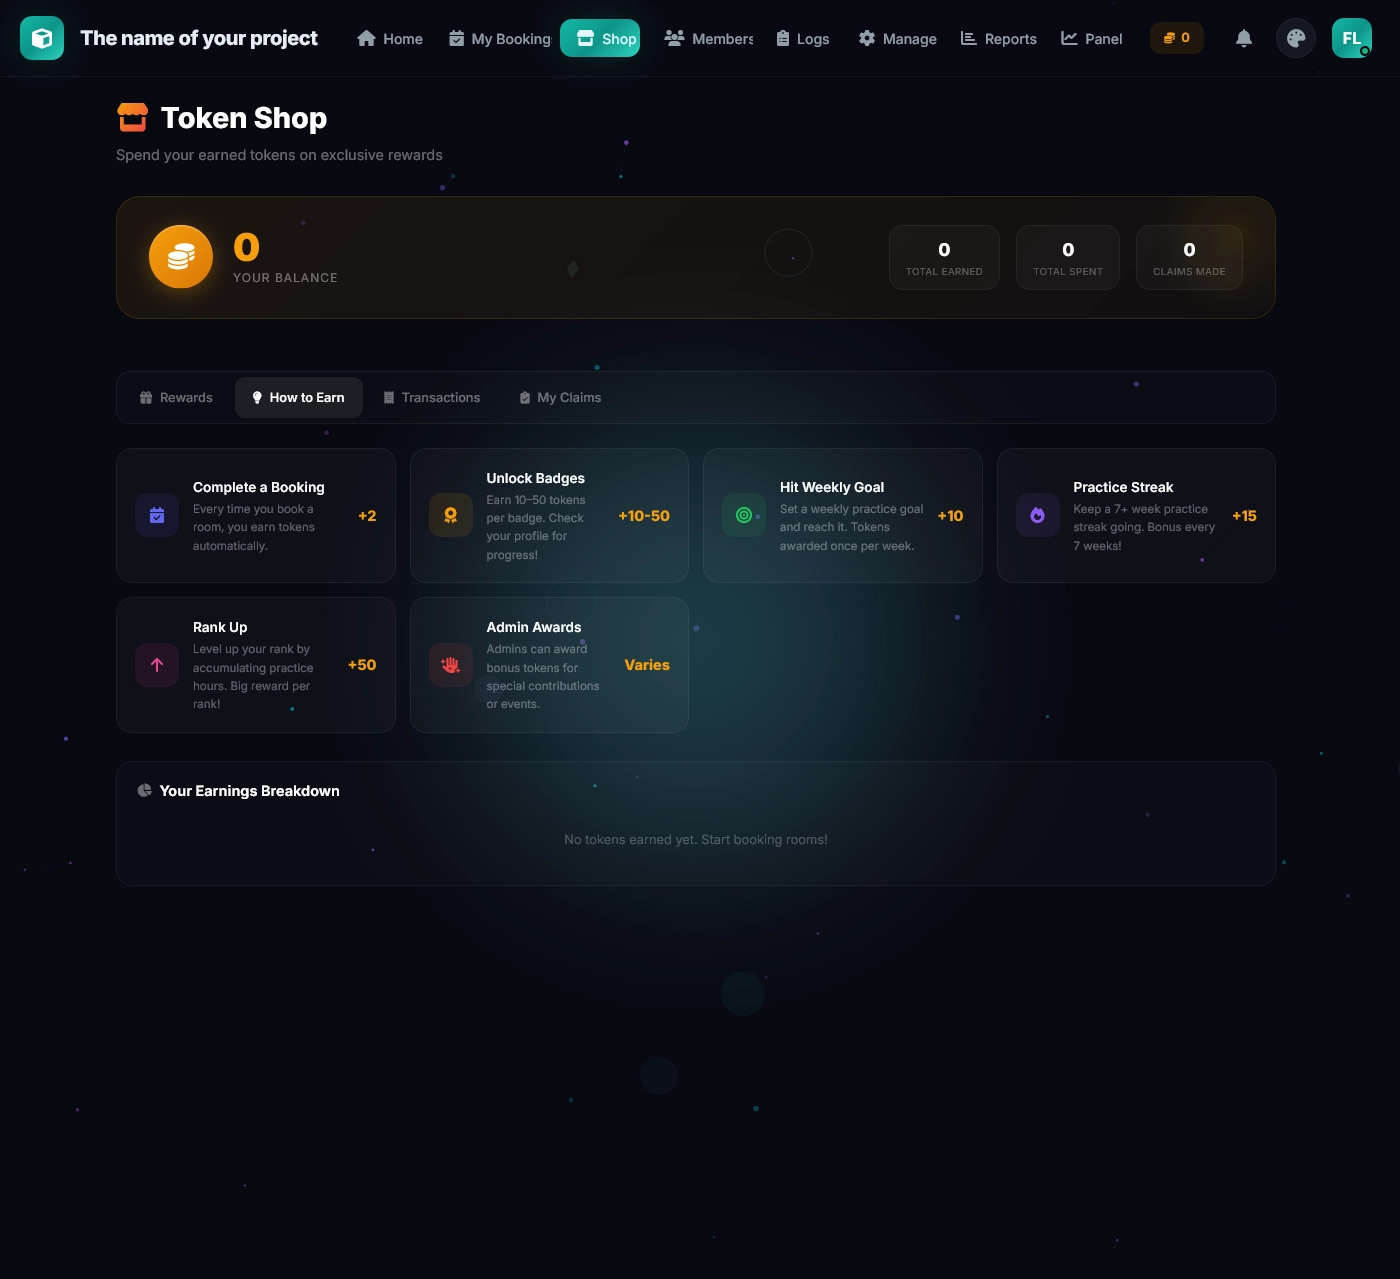
- Tokens: Earn tokens from bookings and achievements, spend them in the Reward Shop
Themes & Languages
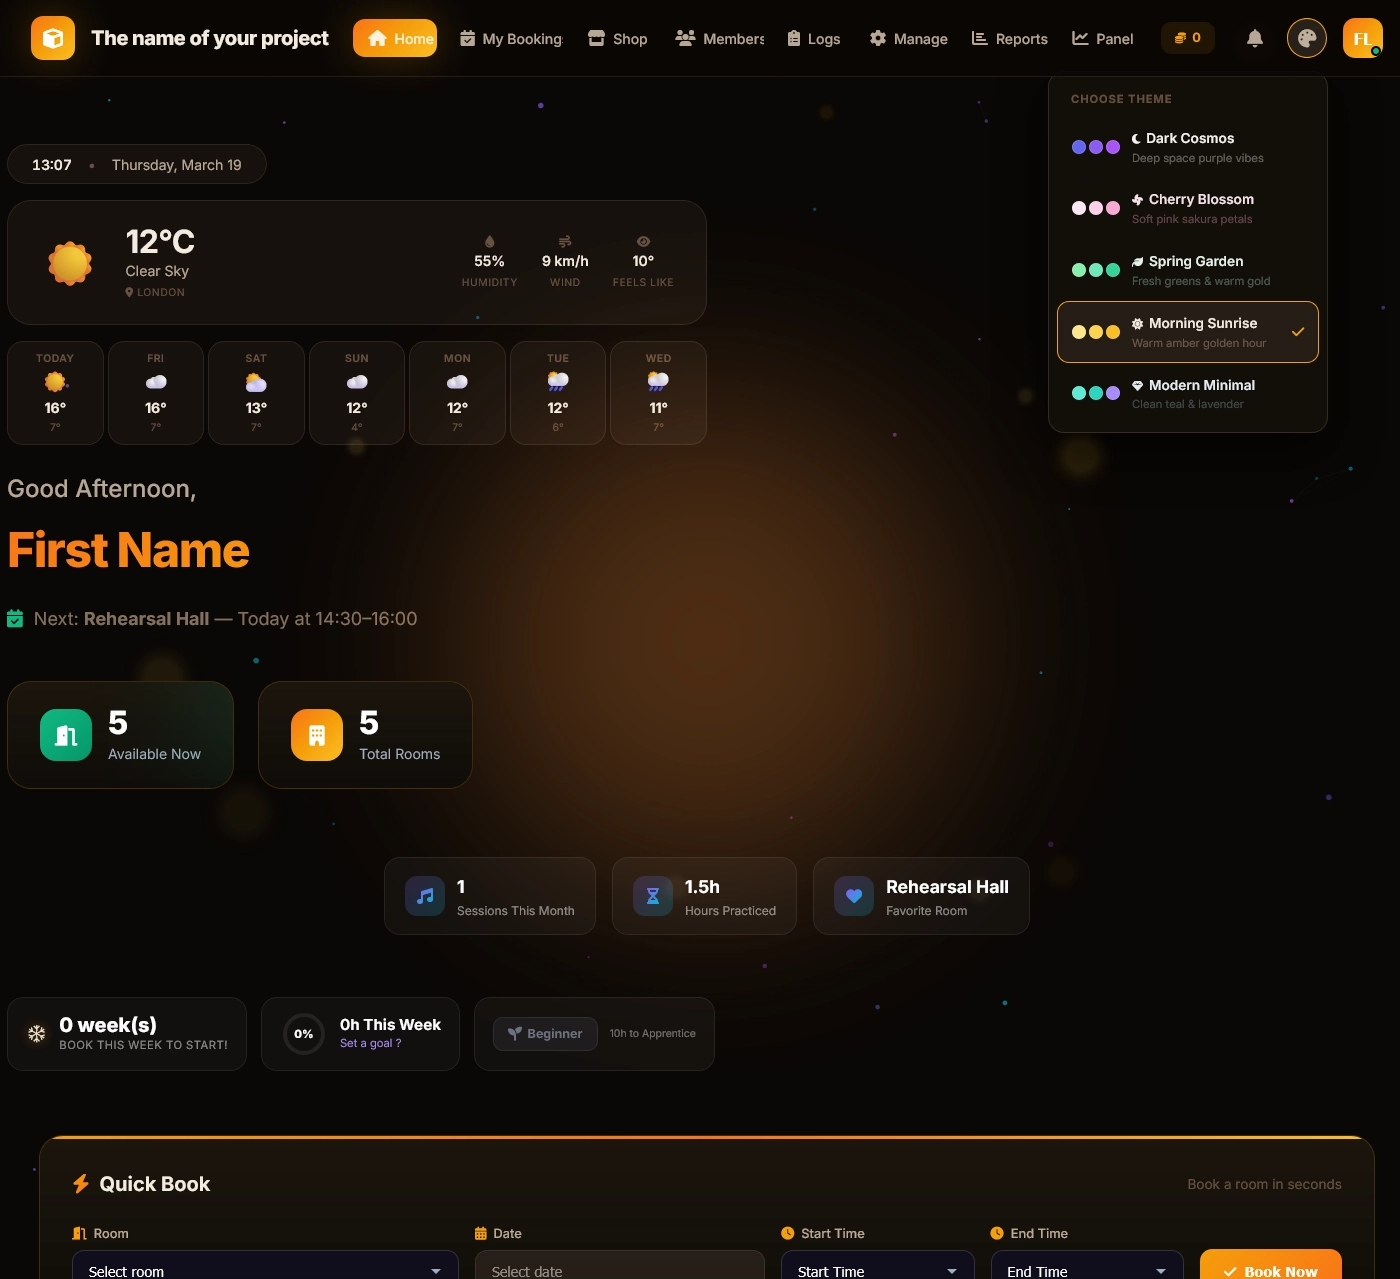
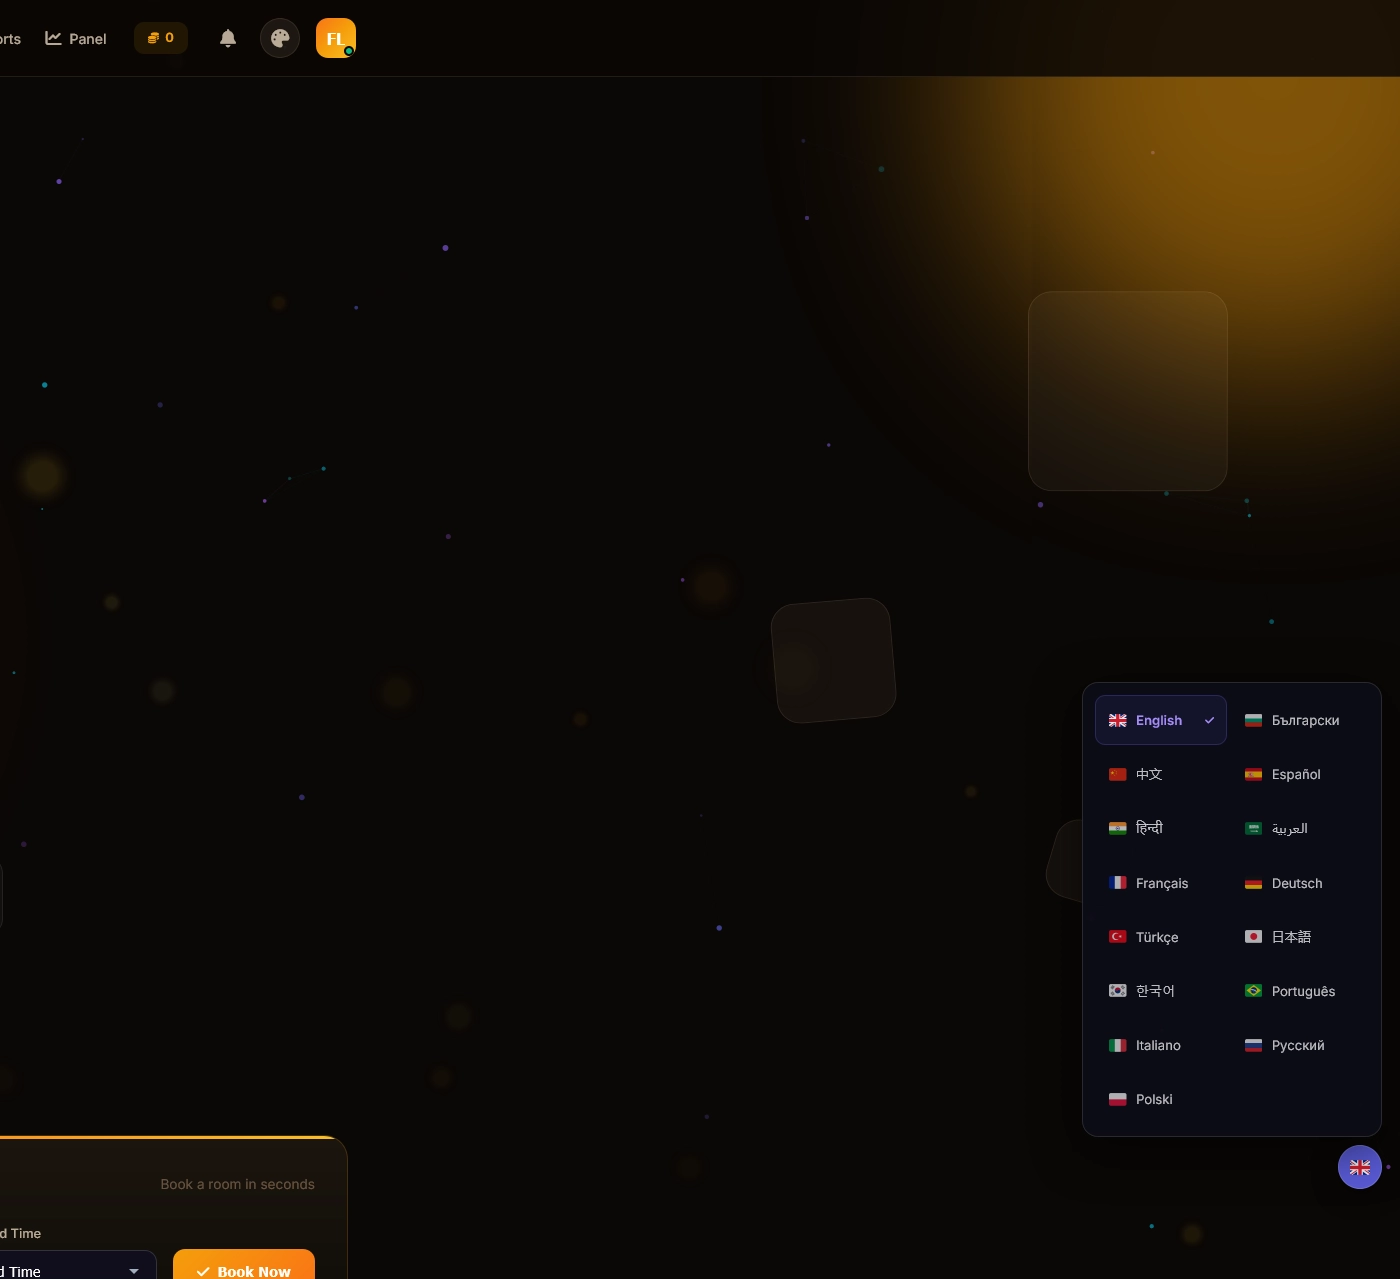
Users can switch between 5 themes and 15 languages including RTL Arabic support. Preferences are saved automatically.
Weather Widget
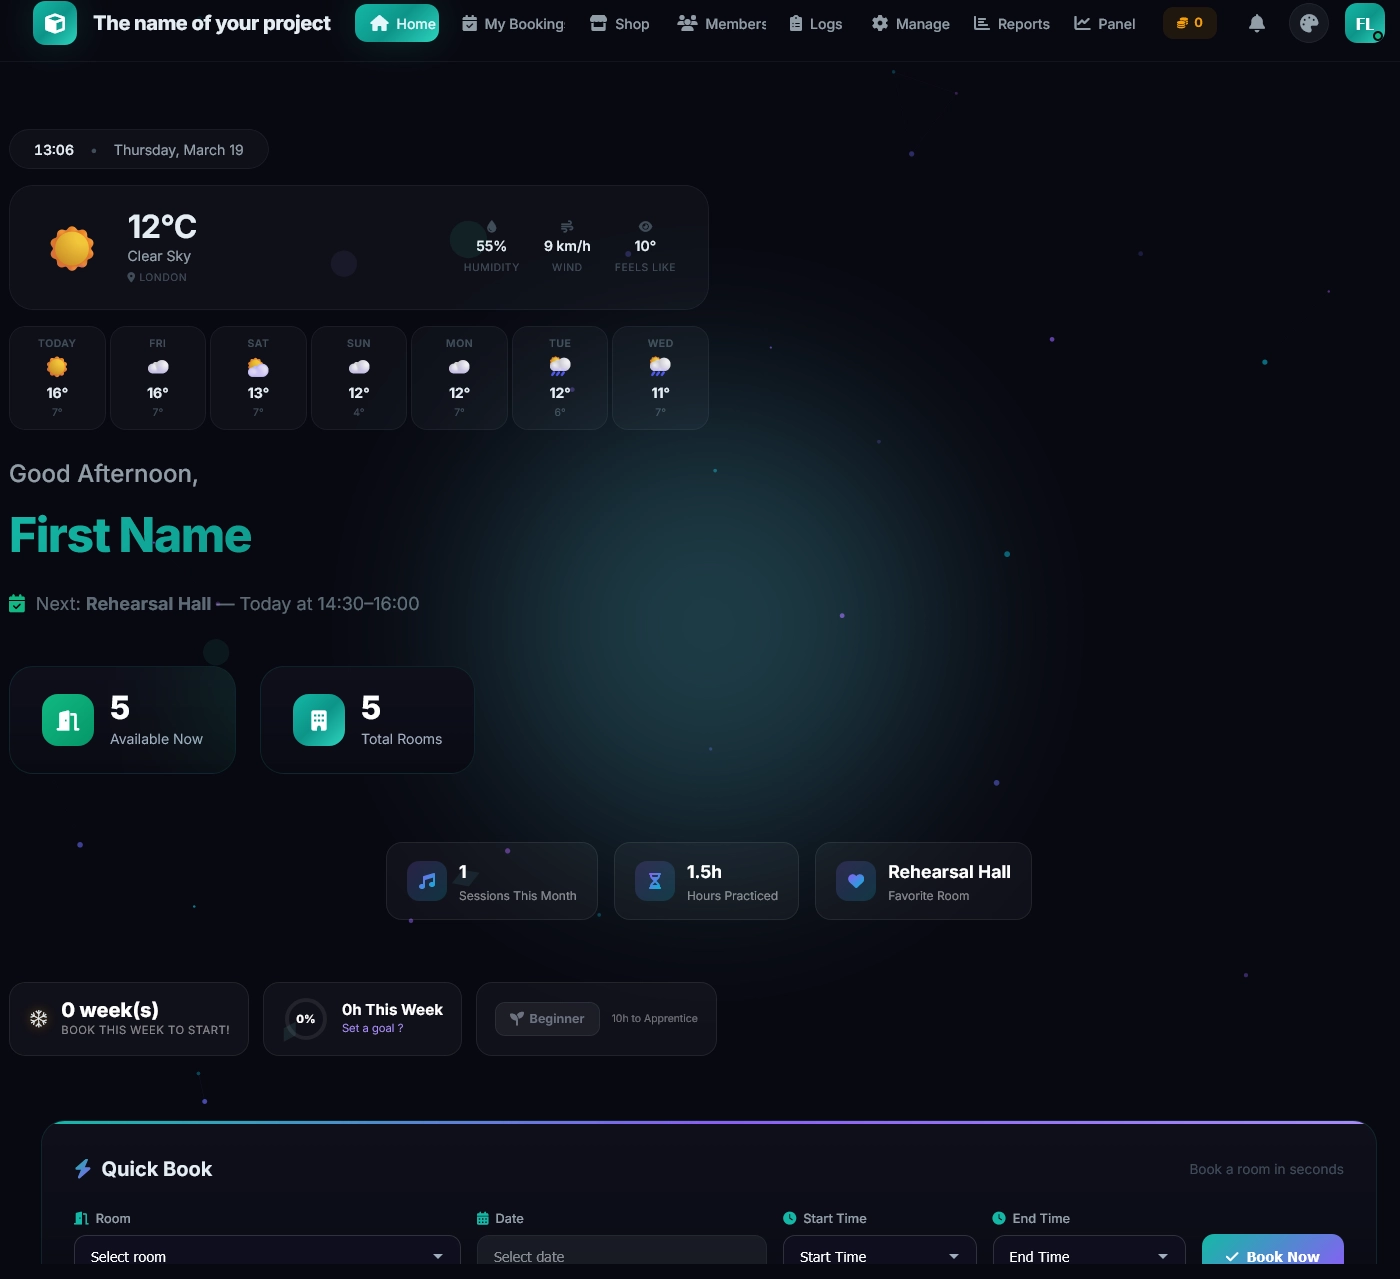
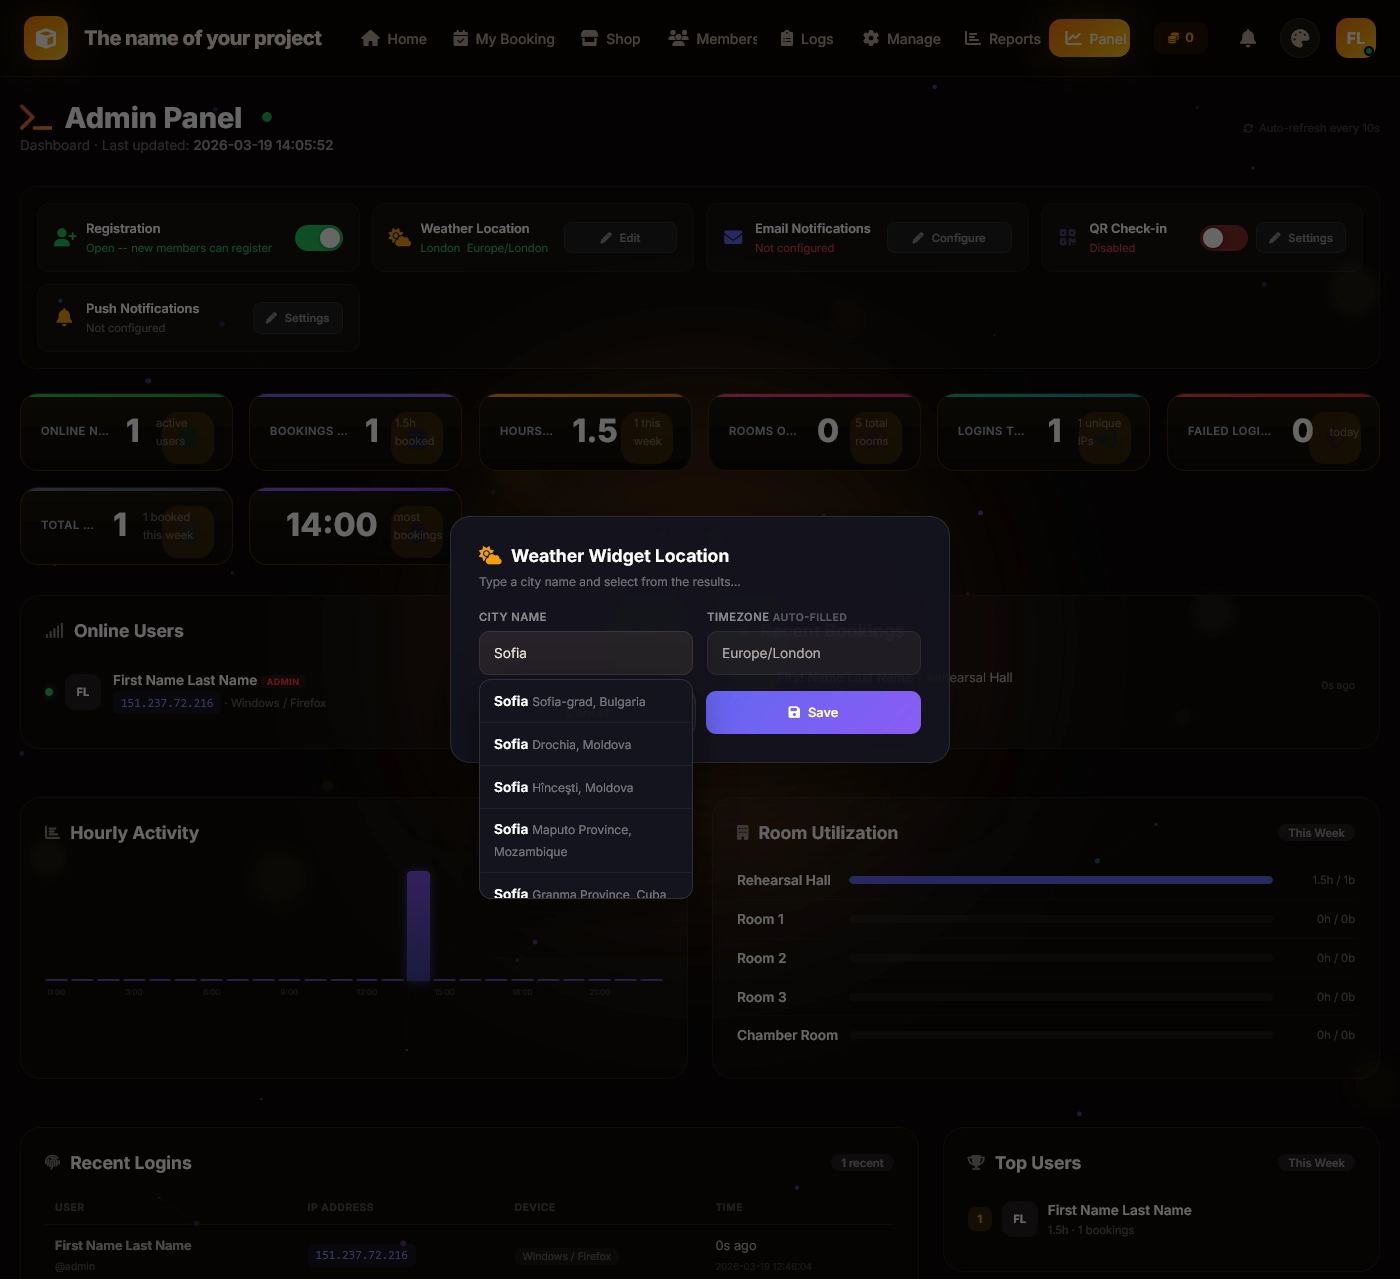
The homepage includes an optional weather widget showing current conditions for your venue's location.
Profile
- Update name, email, and profile photo
- Change password (requires current password)
- View practice hours chart (8-week history)
- Toggle email and push notifications
- Install the PWA from the profile page
9. Push Notifications Setup
- Log in as admin
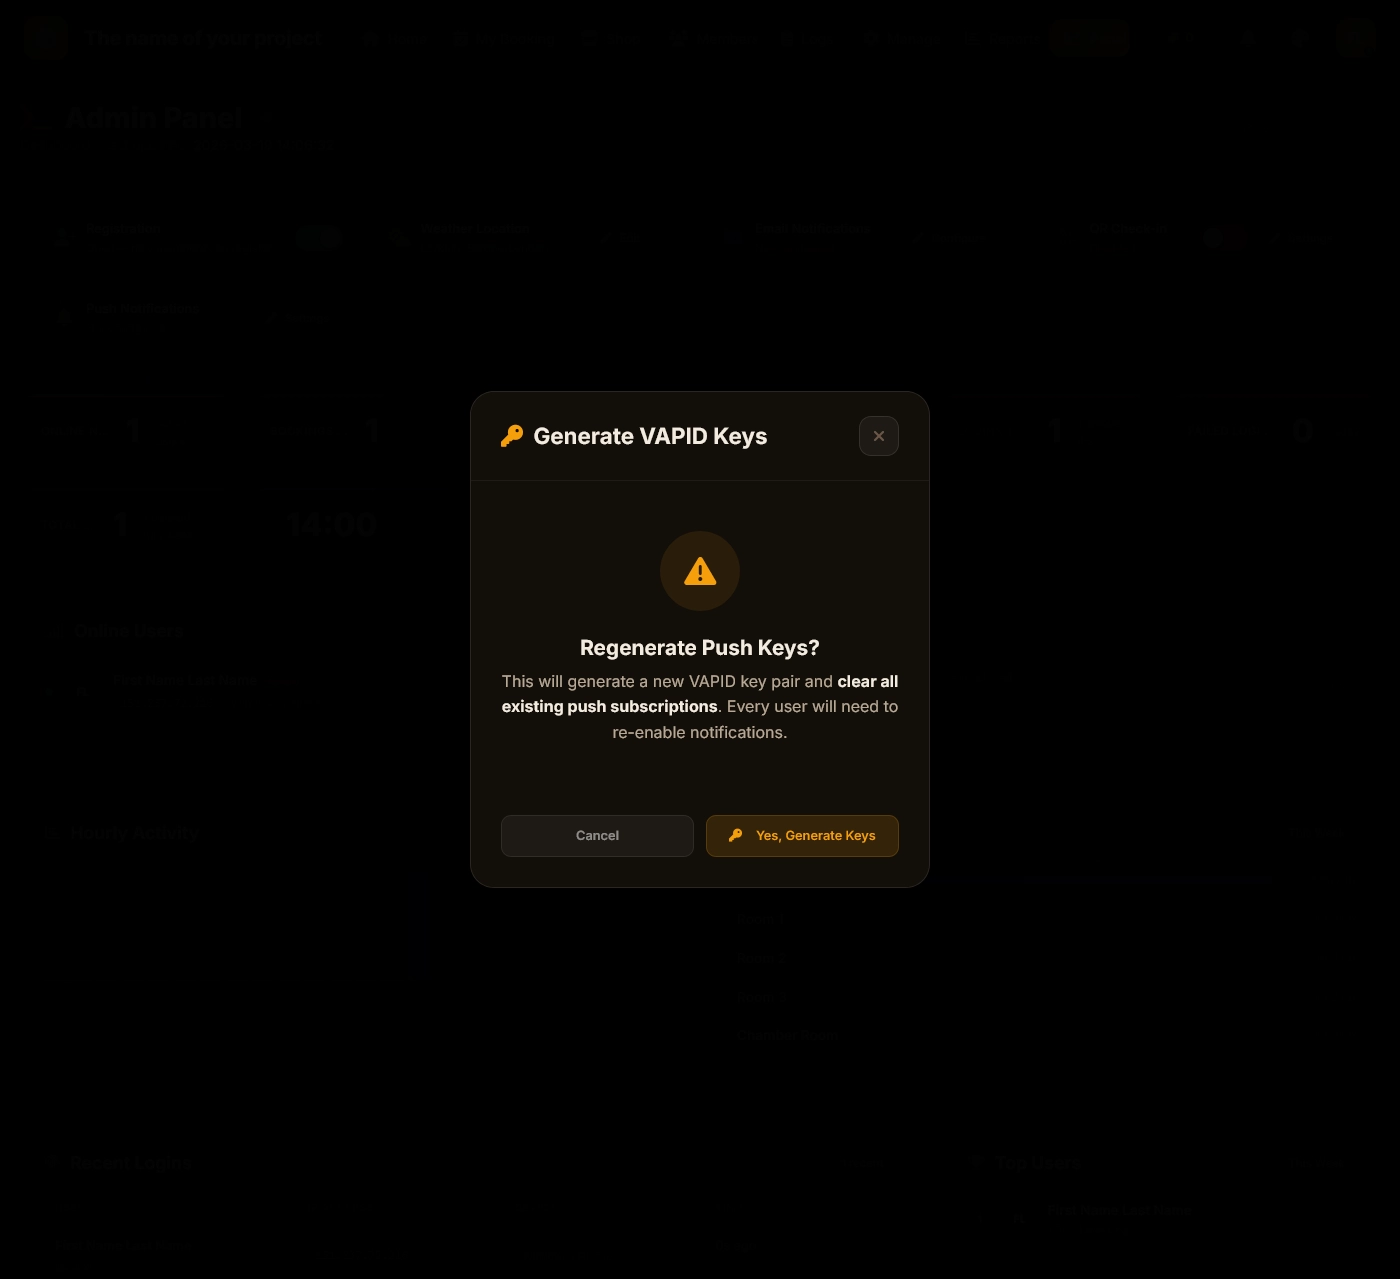
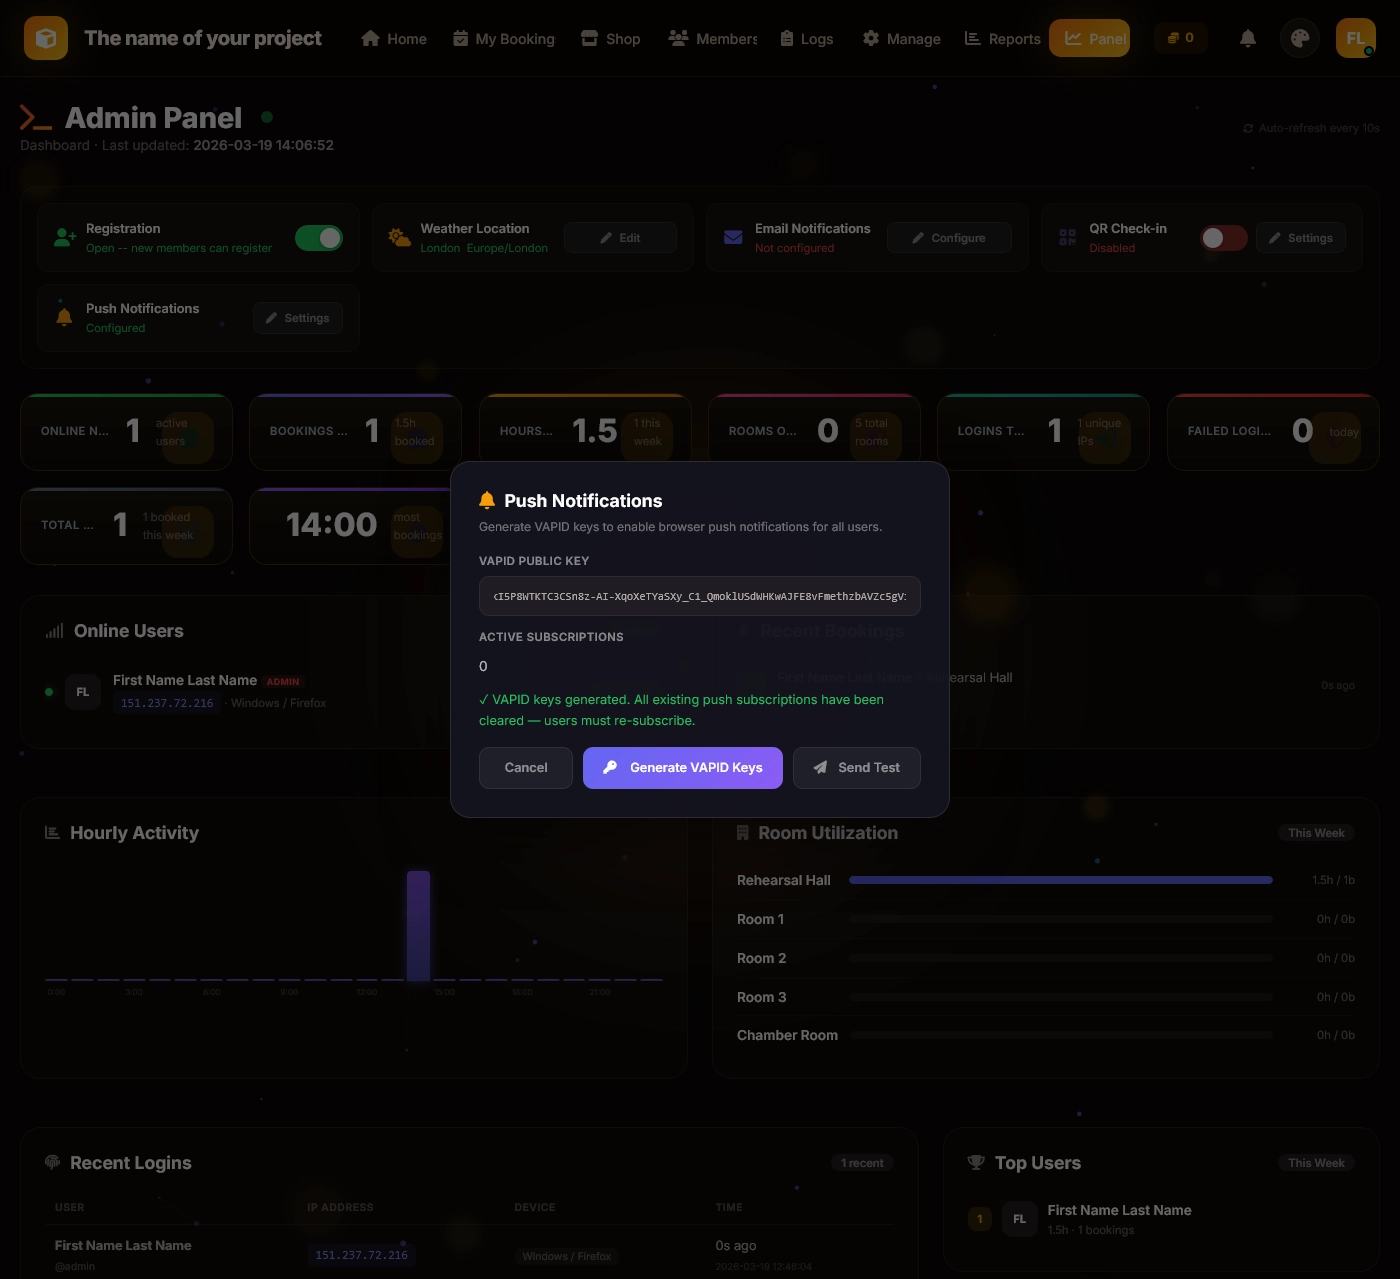
- Go to Admin Panel → Push Notification Settings
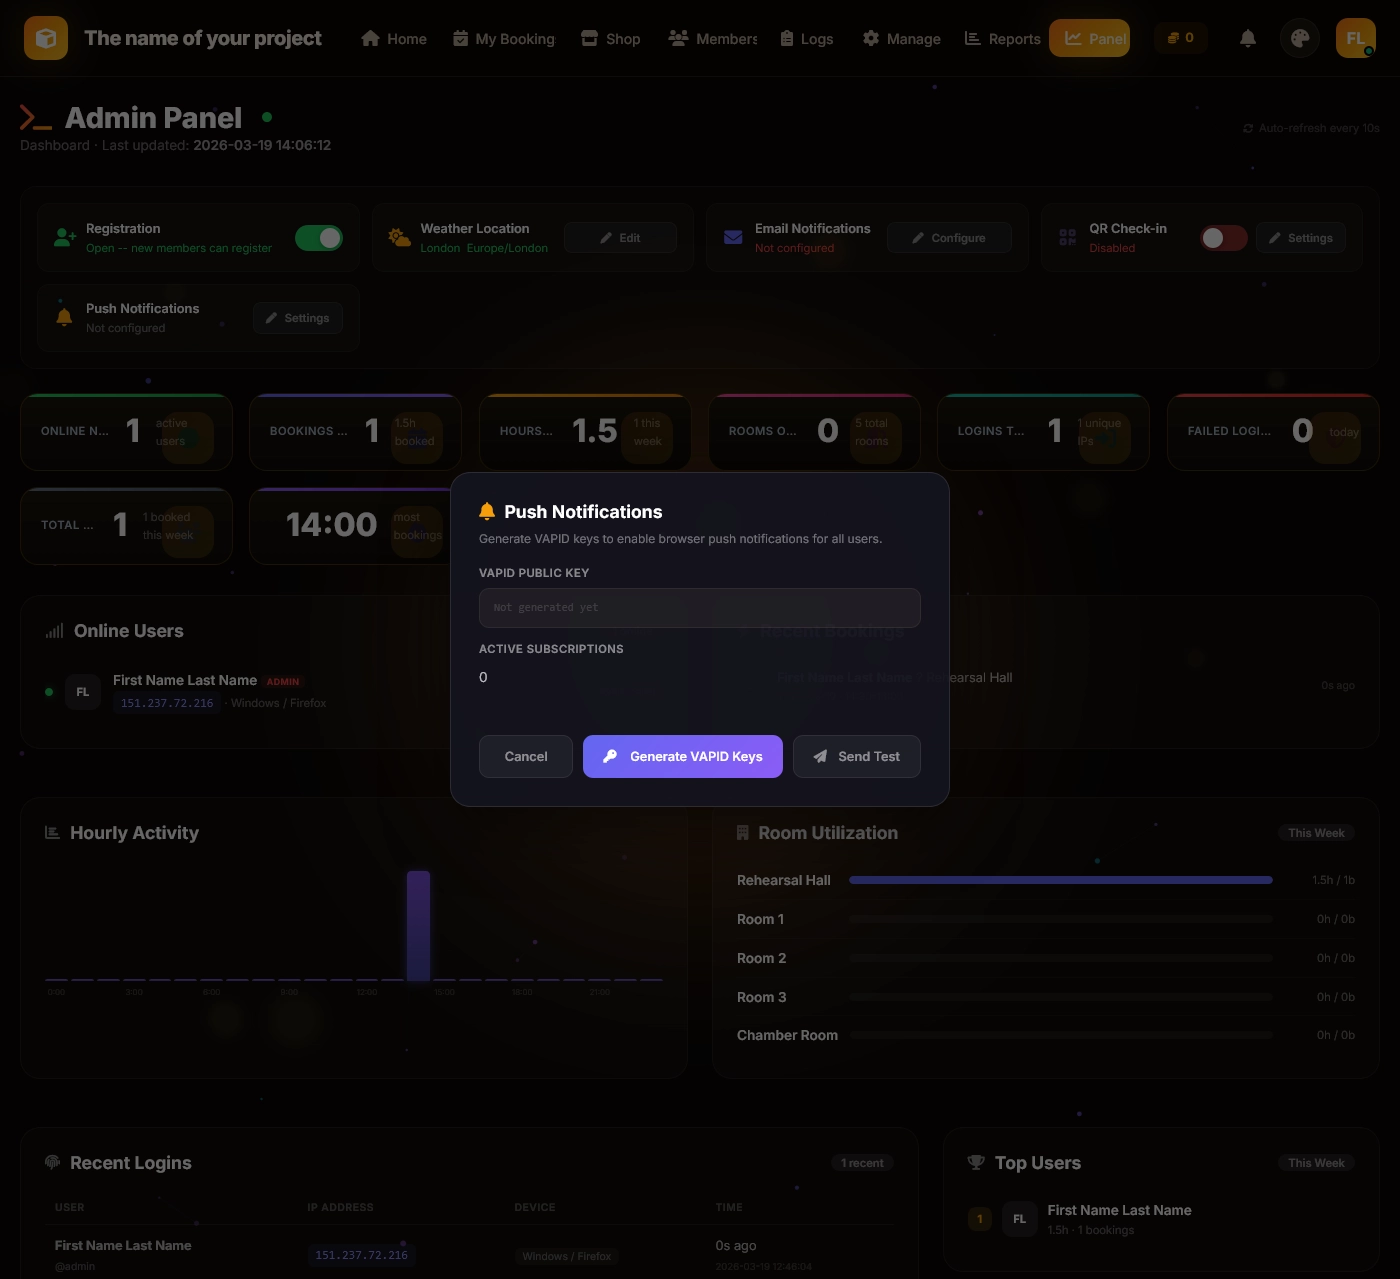
- Click Generate VAPID Keys — keys are stored in the database
- Push is now active. Users can subscribe from their profile page
- Use Send Test to verify it works
Push notifications are sent for: announcements, booking reminders, admin cancellations, and user shoutouts.
10. Cron Jobs
Two optional cron jobs enhance the experience:
Booking Reminders
# Send email reminders ~1 hour before bookings (run every 15 minutes)
*/15 * * * * php /path/to/booking/cron/booking_reminder.php
Badge Backfill
# Assign badges retroactively for existing users (run once after upgrade)
php /path/to/booking/cron/backfill_badges.php
11. Complete Feature List
Core Booking
- 15-minute time slots (7 AM – 10 PM)
- Real-time availability with conflict-free row-locking
- Quick-book widget with availability heatmap
- Free room search by date and time range
- Room favorites with personalized ordering
- One-tap rebook (+7 days)
- Soft cancellation (bookings never lost)
- Booking heatmap per room (7-day × hourly)
- Configurable min/max durations per room
- 3 customizable booking levels with advance-day and daily limits
- Late notification system
- Swipe-to-cancel on mobile
QR Check-In & GPS Geofencing
- Printable QR codes per room (PNG download)
- Built-in PWA camera scanner
- GPS verification via Haversine formula
- Configurable geofence radius per building (50–5,000 m)
- Configurable check-in window (5–60 min before start)
- Auto-release no-shows
- “Running Late” grace period extension
- Early checkout with instant slot release
- GPS audit trail
PWA & Push
- Installable on any device (Android, iOS, Windows, macOS)
- Offline support with service worker
- VAPID-based Web Push notifications
- User opt-in/opt-out controls
Gamification & Tokens
- 8 achievement badges with custom badge creation
- 6 ranks (Beginner → Maestro)
- Booking streaks with grace periods
- Weekly progress goals with visual ring
- 6 milestone celebrations with confetti animations
- Weekly leaderboard
- Musician of the Week spotlight
- 8 shop rewards (gold frame, room name tag, spotlight, double tokens, shoutout, mystery box, extra hour, priority booking)
- Full token transaction ledger
- Anti-cheat (badges revoked on cancellation)
Admin Panel
- 20+ real-time dashboard metrics
- Room & building CRUD with Leaflet.js maps
- 5 analytics reports with date ranges
- Booking logs with CSV/PDF export
- User management (suspend, level change, admin promote)
- Badge & reward CRUD
- Announcement system with multi-channel delivery
- SMTP email configuration with test button
- Push notification management
- Weather widget configuration
- Registration toggle
- Online users (heartbeat-based)
Security
- Prepared statements (SQL injection prevention)
- bcrypt password hashing
- CSRF protection on all endpoints
- Login rate limiting (5 attempts / 15 min, exponential backoff)
- Secure session management
- File upload MIME validation
- Security headers via .htaccess
- Sensitive file protection (.env, vendor/, sessions/)
- Anti-enumeration on password reset
Internationalization
- 15 languages: English, Bulgarian, Chinese, Spanish, Hindi, Arabic (RTL), French, German, Turkish, Japanese, Korean, Portuguese, Italian, Russian, Polish
- 5 themes: Dark Cosmos, Cherry Blossom, Spring Garden, Morning Sunrise, Modern Minimal
- Add new languages by dropping a JSON file in
lang/
12. Troubleshooting
“Connection failed” error
- Verify database credentials in
.env - Ensure MySQL/MariaDB service is running
- Check that the database exists
Blank page / 500 error
- Set
APP_DEBUG=truein.envtemporarily - Check PHP error logs
- Verify all required PHP extensions are enabled
Composer errors
- Ensure PHP is in your system PATH
- Test autoloading:
php -r "require 'vendor/autoload.php'; echo 'OK';" - Re-run:
composer install
Push notifications not working
- Site must be served over HTTPS
- VAPID keys must be generated (Admin Panel → Push Settings)
opensslandcurlPHP extensions must be enabled- Check
error_logfor push-related errors
Upload / image issues
- Ensure
images/directory is writable by the web server - Check PHP
upload_max_filesizeandpost_max_sizeinphp.ini
13. Production Checklist
- Delete
install.phpafter setup - Set
APP_DEBUG=falsein.env - Use a strong, unique database password
- Enable HTTPS (required for push notifications and PWA)
- Block access to
.envvia web server config - Set secure session cookie parameters in
php.ini - Configure proper file permissions
- Set up cron jobs for booking reminders
- Configure SMTP email settings in the admin panel
- Generate VAPID keys for push notifications
- Set up regular database backups
14. Support
If you encounter any issues or have questions, please reach out through the Codester item comments or support system. We aim to respond within 24 hours.
What's Included
- Complete PHP source code (no obfuscation, no license server, no encoded files)
- 15 language translation files
- 5 theme stylesheets
- Database schema
- 5-step web-based installer
.htaccesswith security hardening- Service worker for PWA
- This documentation + README, INSTALL, FEATURES, API reference, and CHANGELOG